WOODWORKING · DIY · A HANDMADE HOME @grainbyjoy
GRAIN by JoyWOODWORKING PLANS · WORKSHOP STORIES · HOME
FIND YOUR NEXT GOOD THING
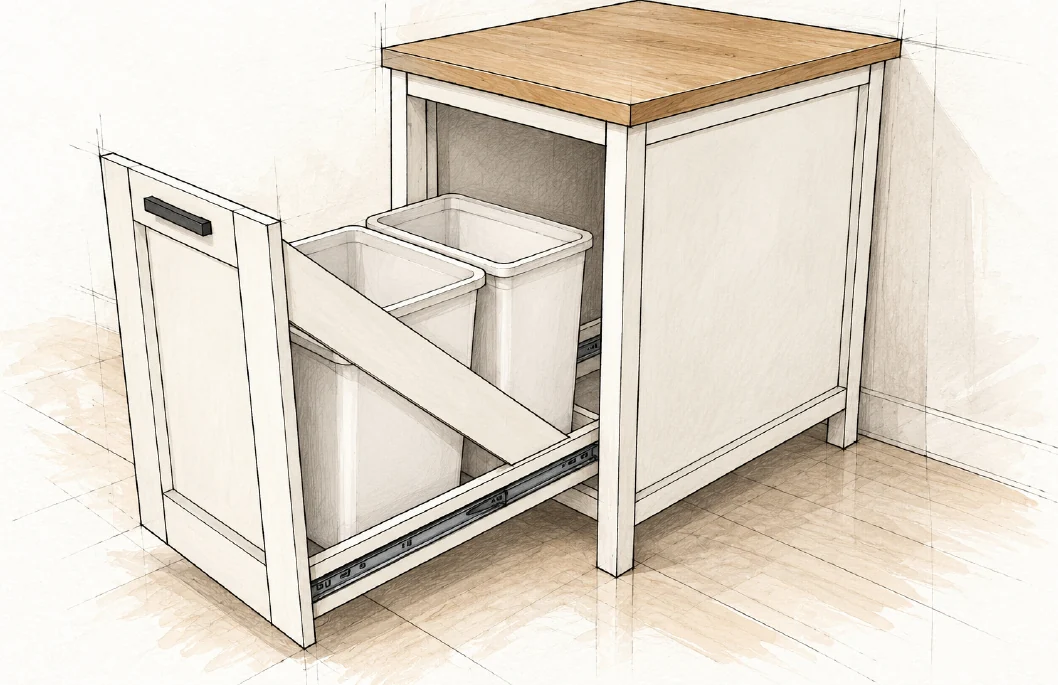
WOODWORKING PLANPullout Bin Kitchen Island
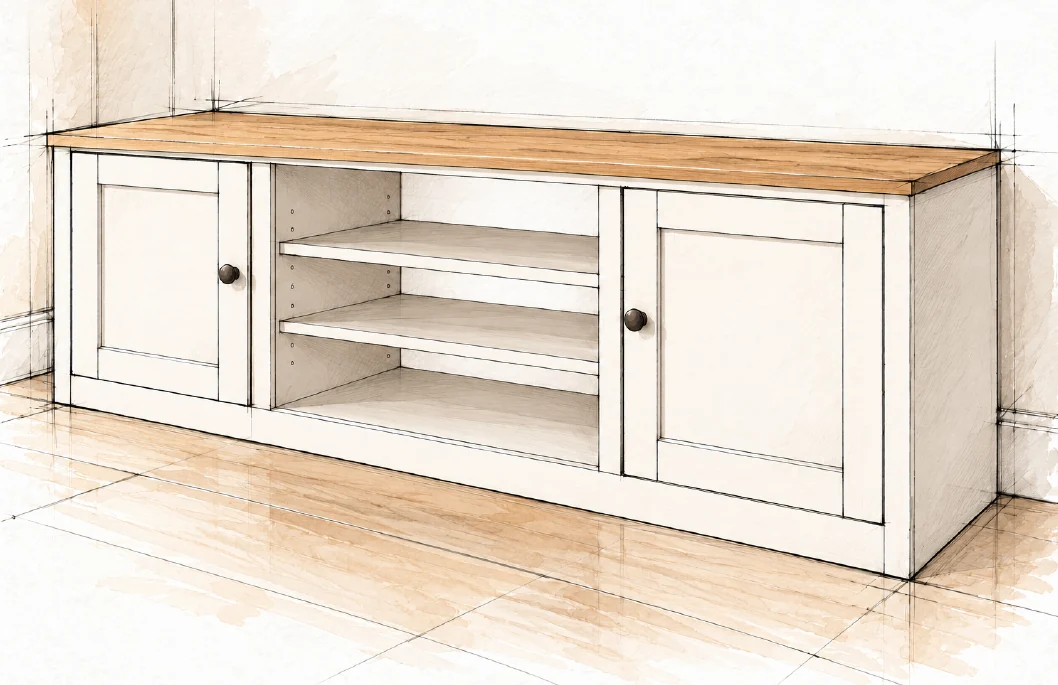
WOODWORKING PLANFarmhouse Media Console
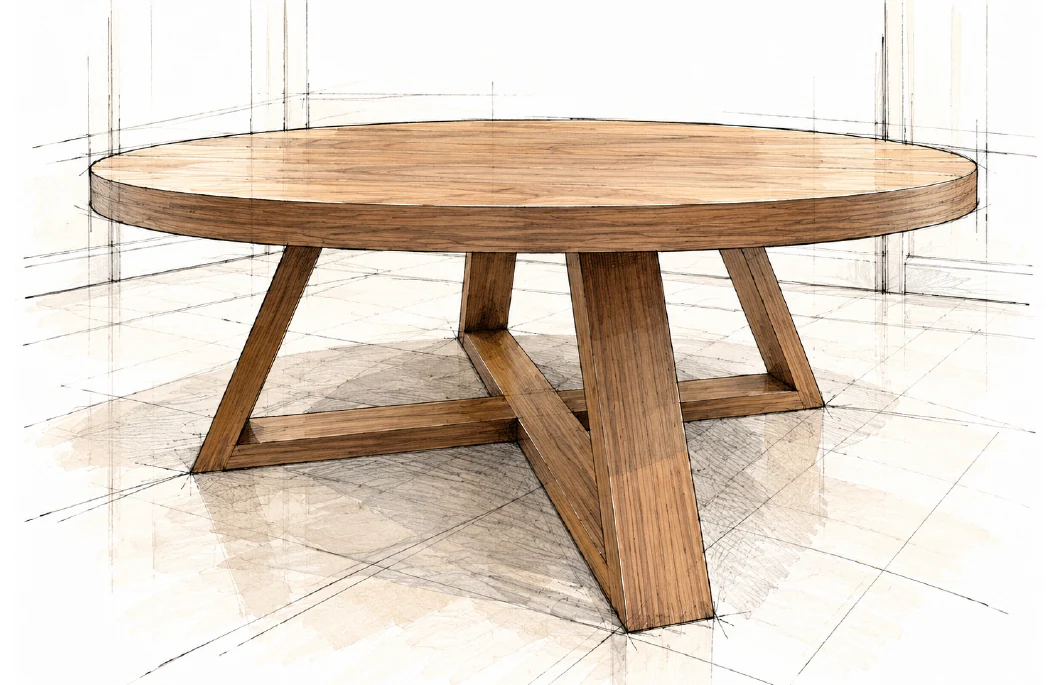
WOODWORKING PLANRound Coffee Table
WOODWORKING PLANGeometric Hairpin Coffee Table
WOODWORKING PLANHollow Panel Waterfall Console
WOODWORKING PLANFarmhouse Console Table
WOODWORKING PLANBarn Door Console
WOODWORKING PLANBeginner Farm Table
WOODWORKING PLANFarmhouse Coffee Table
FREE WOODWORKING PLAN
Tables / INTERMEDIATE

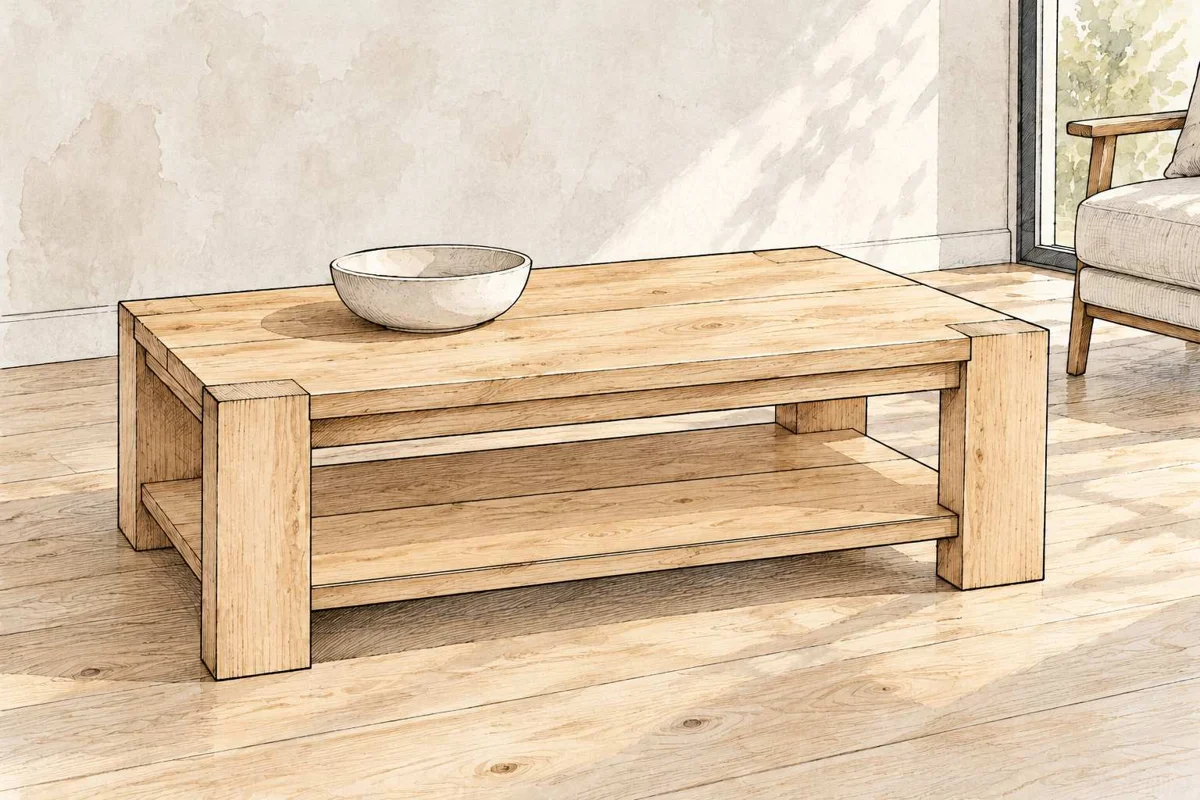
Chunky Leg Coffee Table

A substantial farmhouse coffee table with a quiet, simple silhouette.

FINISHED DIMENSIONS47 1/2 × 22 1/2 × 17 in
SKILL LEVELIntermediate
WHAT IS INCLUDEDMaterials, cut list and illustrated steps
Read the free planMade this plan? Share your build
A GOOD BUILD STARTS WITH A CLEAR PLAN
  • Materials and tools
  • Cutting information and dimensions
  • Illustrated assembly steps
FROM THE FIRST CUT TO THE LAST DETAIL

Take it one step at a time

Everything you need to follow this build is written below. Read the materials, measurements and construction notes before your first cut.

Read the build steps

Yes. The complete plan is available to read on this page.
THE FREE BUILD GUIDE

Chunky Leg Coffee Table

A substantial farmhouse coffee table with a quiet, simple silhouette.

PREPARE / SHOPPING LIST

Materials & Tools

US nominal lumber sizes are purchase labels, not actual measurements.

LUMBER

• 1 × 2×6 at 8 ft (2438.4 mm), or 92 5/8 in stud length (2352.7 mm) • 2 × 1×12 at 8 ft (2438.4 mm) • 2 × 1×3 at 6 ft (1828.8 mm) • 3 × 1×2 at 8 ft (2438.4 mm)

HARDWARE AND FINISH

• 16 × 2 in (50.8 mm) self-tapping star-drive screws • 1 1/4 in (31.8 mm) brad nails; quantity not specified • Wood glue; 120- and 150-grit sandpaper; paint or stain

SOURCE TOOL LIST

Measuring tape, square, safety glasses, drill, jigsaw, compound miter saw, nailer and sander.

WORKSHOP PREPARATION

Also prepare clamps, a pencil and a stable work surface. These are practical aids for this guide. Use hearing and dust protection appropriate to each tool and follow its manufacturer’s instructions.

PREPARE / PARTS A TO G

Cut list

Cut the fitted parts only after measuring the assembled panel or frame.

PartQtyStockCut size and use
A42×617 431.8 Legs
B41×1247 1/2 1206.5 2 top + 2 shelf
C21×3~19 1/2 ~495.3 Upper end rails
D21×343 1092.2 Upper long rails
E61×2~18 ~457.2 3 supports per frame
F21×2~19 1/2 ~495.3 Lower end rails
G21×243 1092.2 Lower long rails

~ MEANS MEASURE AND CUT TO FIT

Approximate lengths are source estimates, not fixed targets. Each panel receives four corner notches sized to the measured legs. Part E combines the two identical groups of three supports.

NOMINAL VERSUS ACTUAL

Typical surfaced sizes: 2×6 = 1 1/2 × 5 1/2 in; 1×12 = 3/4 × 11 1/4 in; 1×3 = 3/4 × 2 1/2 in; 1×2 = 3/4 × 1 1/2 in. Measure your stock before cutting. Millimeters are reference conversions at 25.4 mm per inch, rounded to 0.1 mm.

STEP 01 / SOURCE SEQUENCE 1

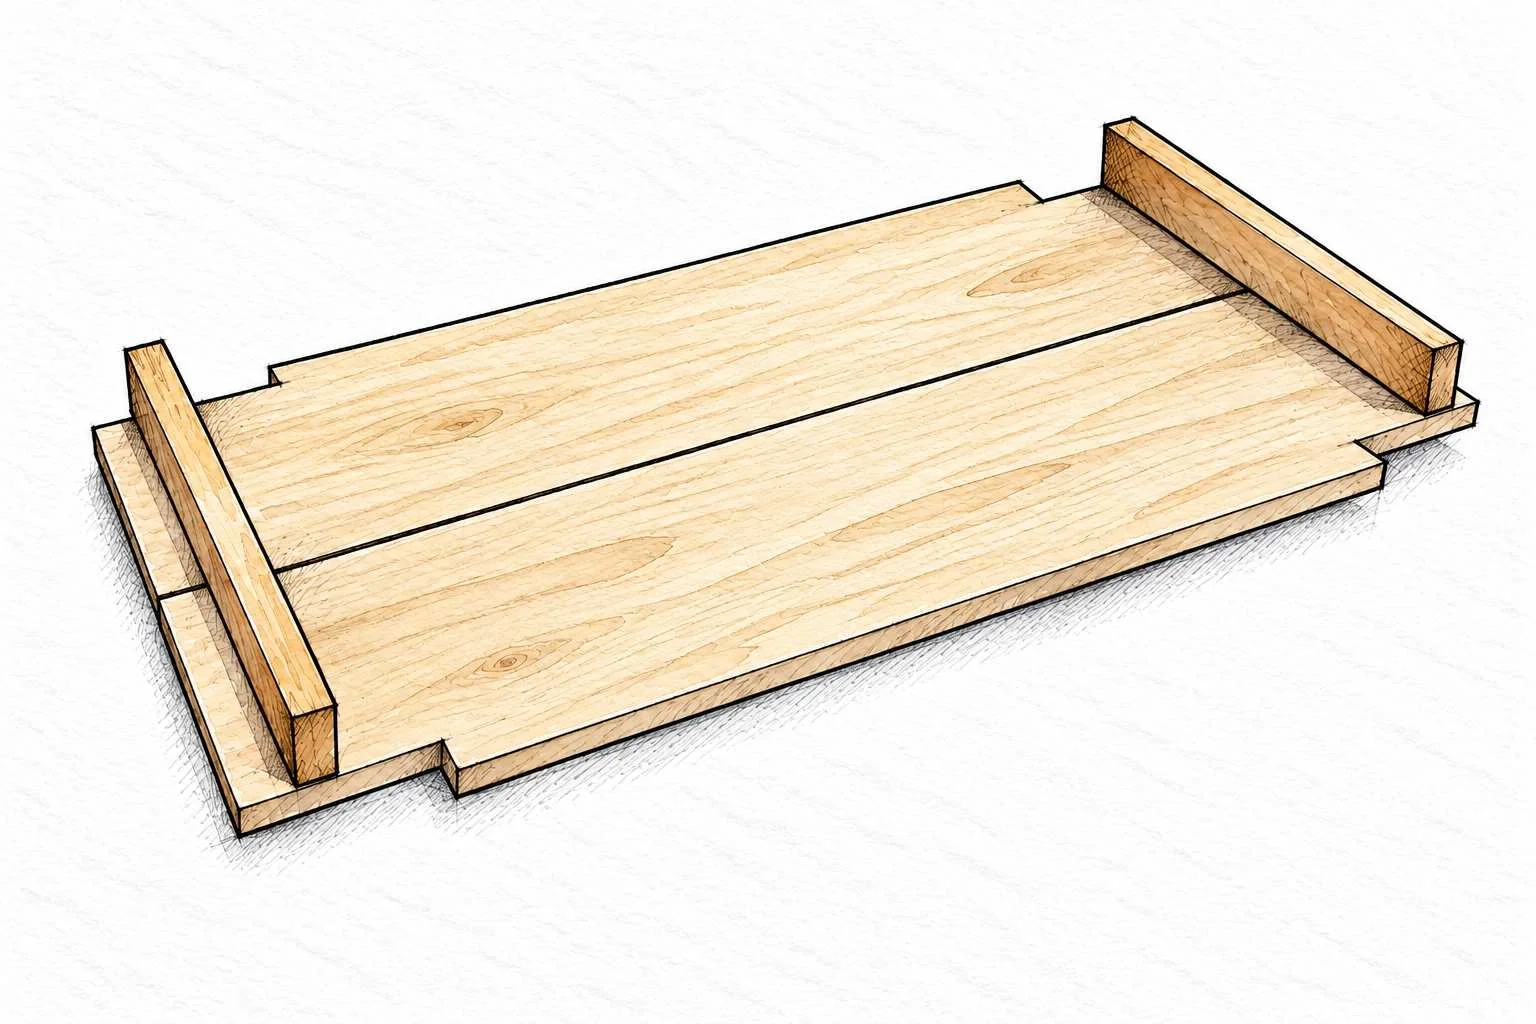
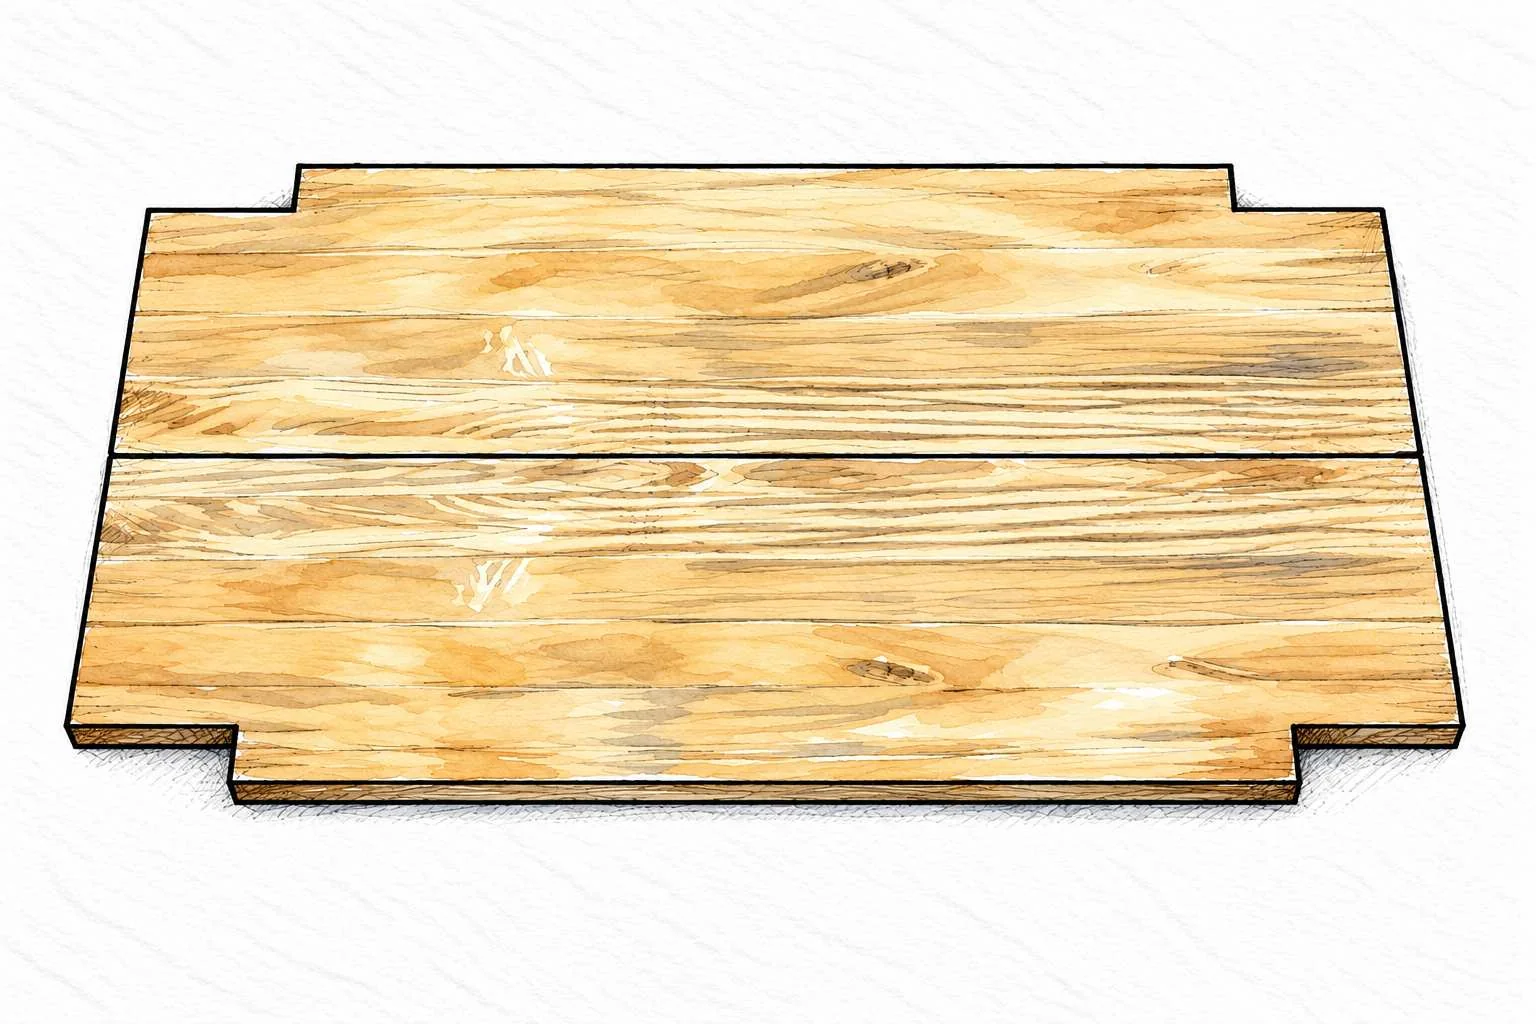
Notch the panel corners

Prepare two boards for the top and two for the shelf.

Notch the panel corners · Chunky Leg Coffee Table

B / Four 1×12 panel boards

Pair the panel boards lengthwise. Mark each outside corner for a leg-sized notch: 5 1/2 × 1 1/2 in (139.7 × 38.1 mm), adjusted to your actual 2×6 stock. Cut with a jigsaw.

BEGINNER CHECK

Clamp and support each board before cutting. Keep the waste side clear. Dry-fit a leg offcut in every notch; it should seat without forcing. Each two-board panel has four outside notches, not four notches per board.

STEP 02 / SOURCE SEQUENCE 2

Fit the upper end rails

Measure the panel rather than relying on an approximate cut.

Fit the upper end rails · Chunky Leg Coffee Table

B + C / Top panel and two upper end rails

Fit two 1×3 end rails between the cutouts. The source gives about 19 1/2 in (495.3 mm); measure your panel and cut to fit. Keep the shown 1 1/2 in (38.1 mm) end inset.

BEGINNER CHECK

Set both boards on a flat surface with their long edges together. Label the underside and keep the pair in the same orientation. Check both ends separately: a forced rail can spread the panel or distort its outline.

STEP 03 / SOURCE SEQUENCE 3

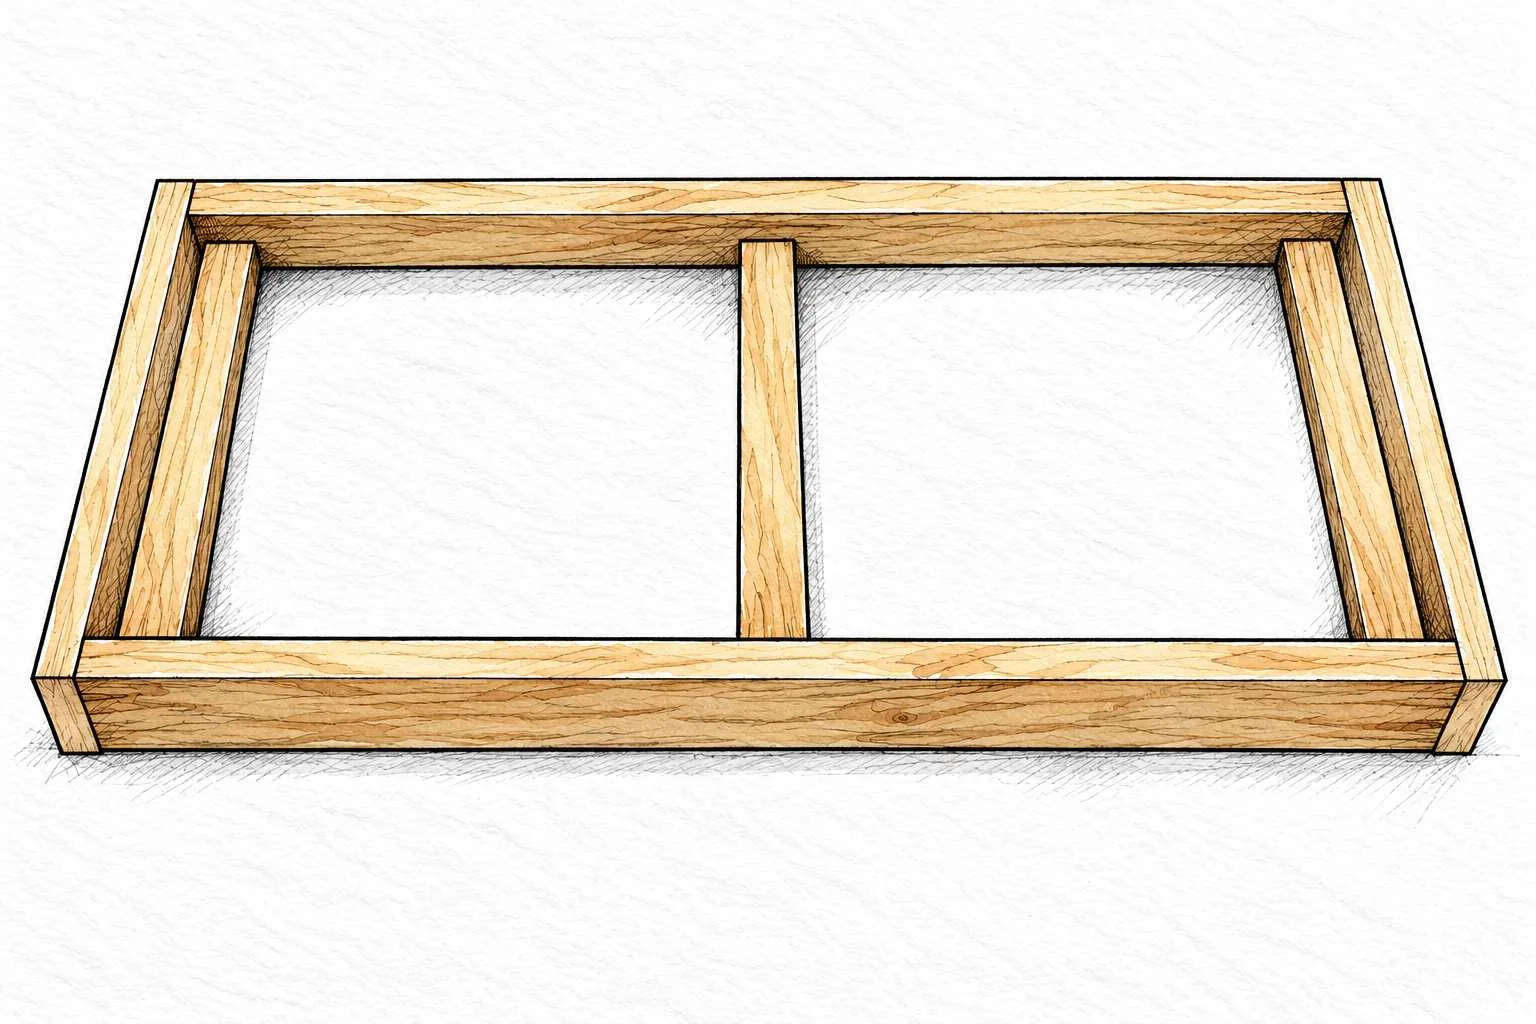
Build the upper frame

Keep the frame flat and square before fastening.

Build the upper frame · Chunky Leg Coffee Table

C + D + E / Upper perimeter and three supports

Join the 43 in (1092.2 mm) long rails between the end rails using glue and 1 1/4 in (31.8 mm) brads. Fit three 1×2 supports inside: two beside the ends and one centered.

BEGINNER CHECK

Compare the two diagonal measurements before nailing. Equal readings indicate a square rectangle. Hold each joint securely; keep hands away from the nail path. The supports must be flush with the face that will meet the panel.

STEP 04 / SOURCE SEQUENCE 4

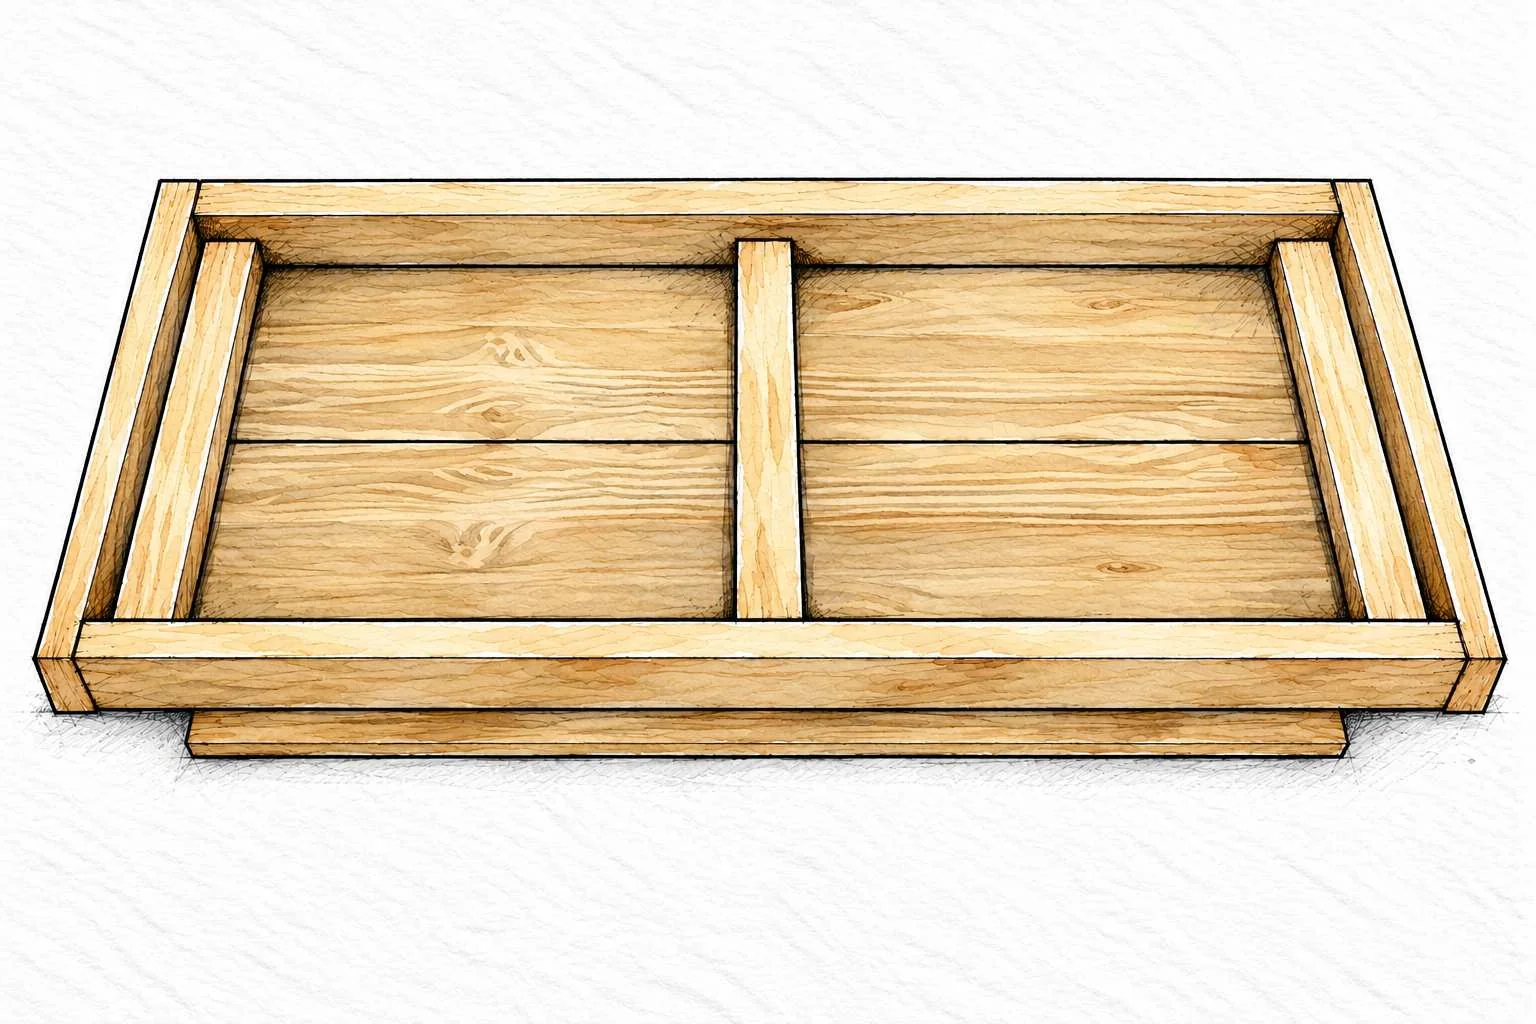
Attach the top panel

Work with the tabletop face down on a clean flat surface.

Attach the top panel · Chunky Leg Coffee Table

B + upper frame / Two boards and assembled frame

Glue the long board seam. Glue and fasten the frame to the underside with 1 1/4 in (31.8 mm) brads. Preserve the 1 1/2 in (38.1 mm) end overhangs and clear corner notches.

BEGINNER CHECK

Protect the good face from bench debris. Dry-fit first, then keep the board ends aligned while fastening. Recheck both diagonals before the glue sets. Do not cover the leg openings or introduce extra boards across the panel.

STEP 05 / SOURCE SEQUENCE 5

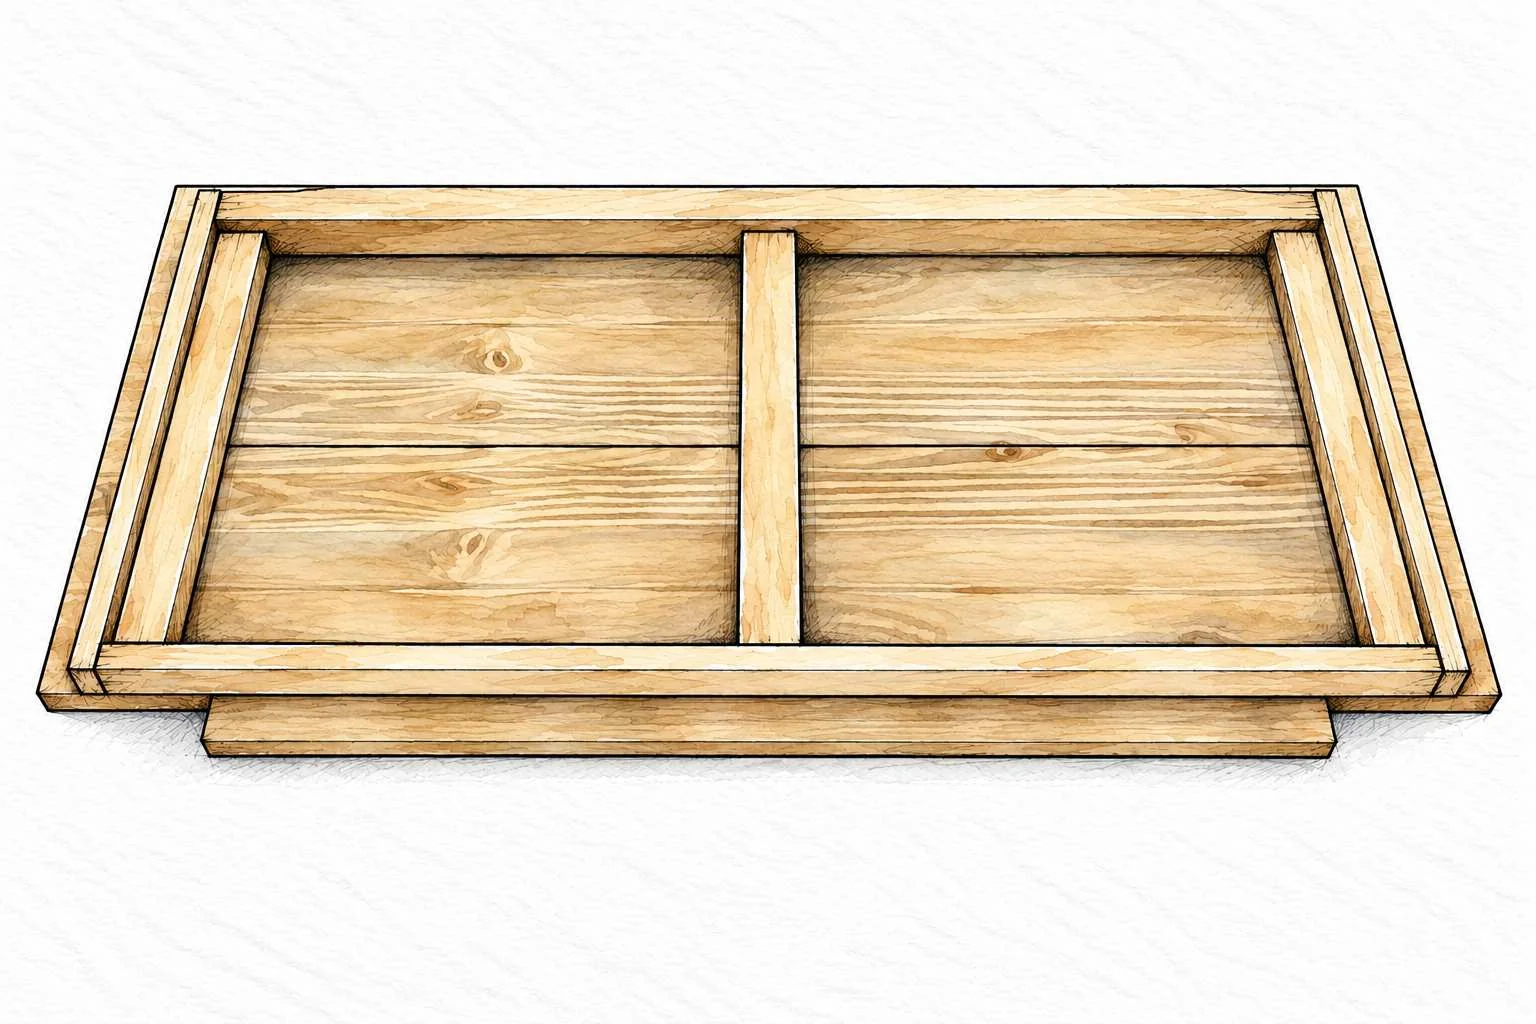
Build the lower shelf

Repeat the panel method with a shallower support frame.

Build the lower shelf · Chunky Leg Coffee Table

B + E + F + G / Shelf panel and lower frame

Repeat the previous assembly for the shelf, using 1×2s for its outer frame and three inner supports. Use glue and 1 1/4 in (31.8 mm) brads. Sand or finish the separate parts before assembly if desired.

BEGINNER CHECK

Keep upper and lower frames labeled: the top uses deeper 1×3 perimeter rails; the shelf uses 1×2 rails. Dry-fit the shelf notches against the legs before finishing. Keep future glue-contact areas clean if a coating is applied first.

STEP 06 / SOURCE SEQUENCE 6

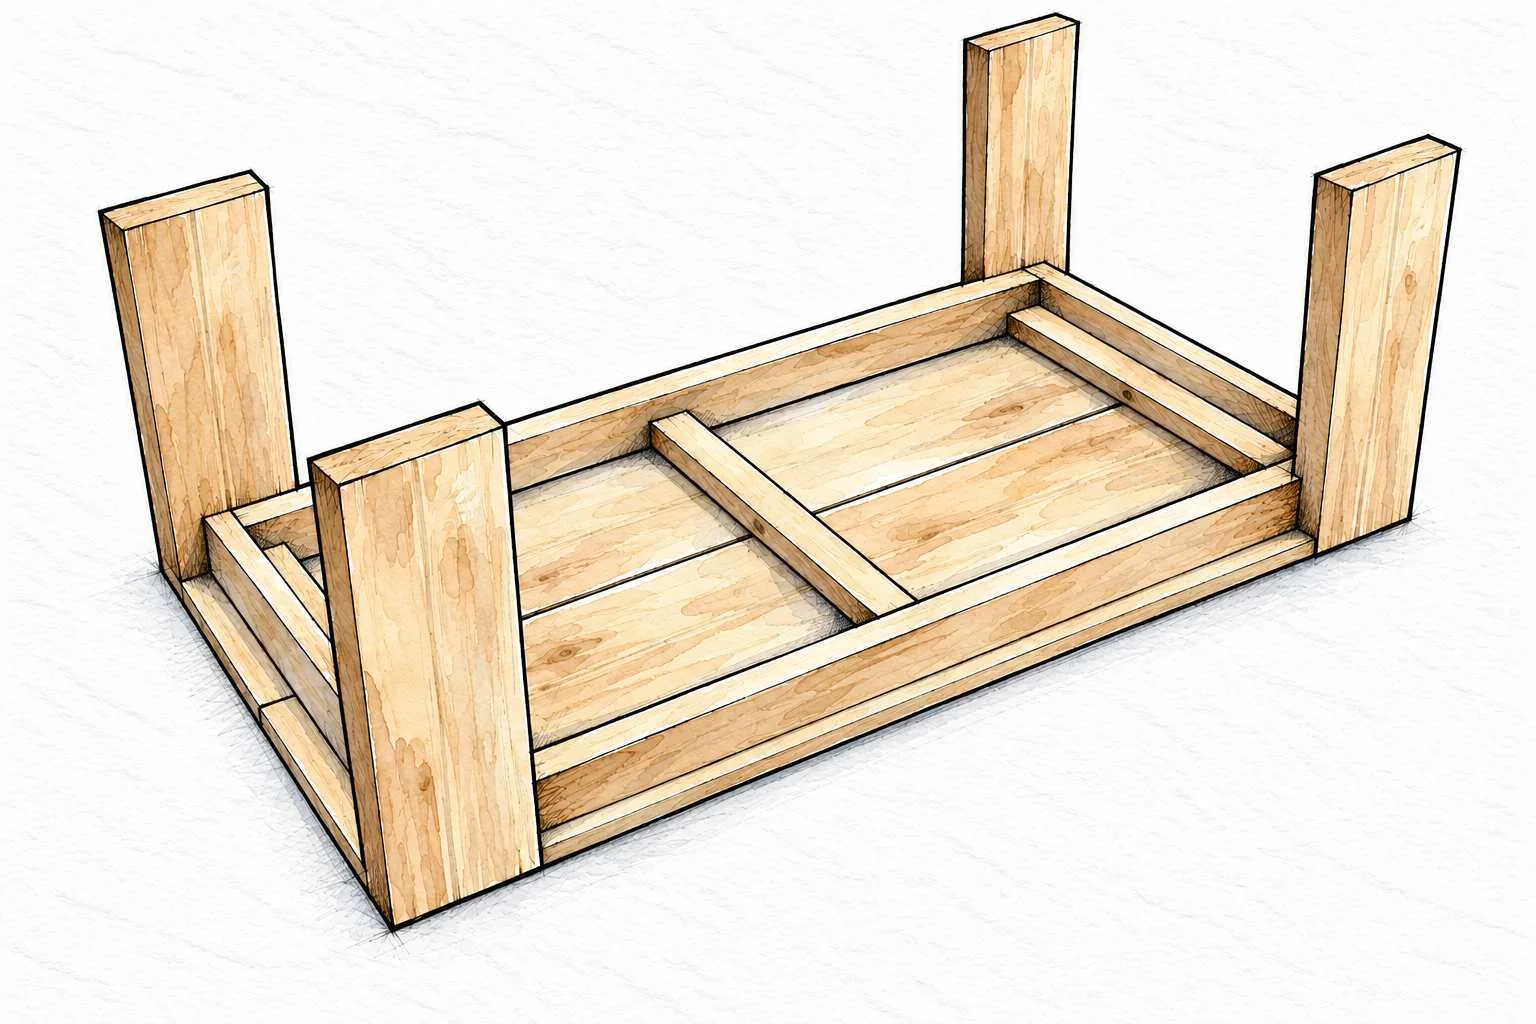
Install the four legs

Leave the tabletop upside down on a flat level surface.

Install the four legs · Chunky Leg Coffee Table

A + top assembly / Four broad 2×6 legs

Seat each leg in its corner notch. Attach through the upper frame with two 2 in (50.8 mm) self-tapping star-drive screws per leg at a slight outward angle. The source allows one screw first, then final tightening later.

BEGINNER CHECK

The legs are broad flat boards, not square posts. Clamp each leg so its top stays flush with the tabletop face underneath. Confirm the screw path remains inside the leg. Exact screw angle and gauge are not specified; do not guess a numeric angle.

STEP 07 / SOURCE SEQUENCE 7

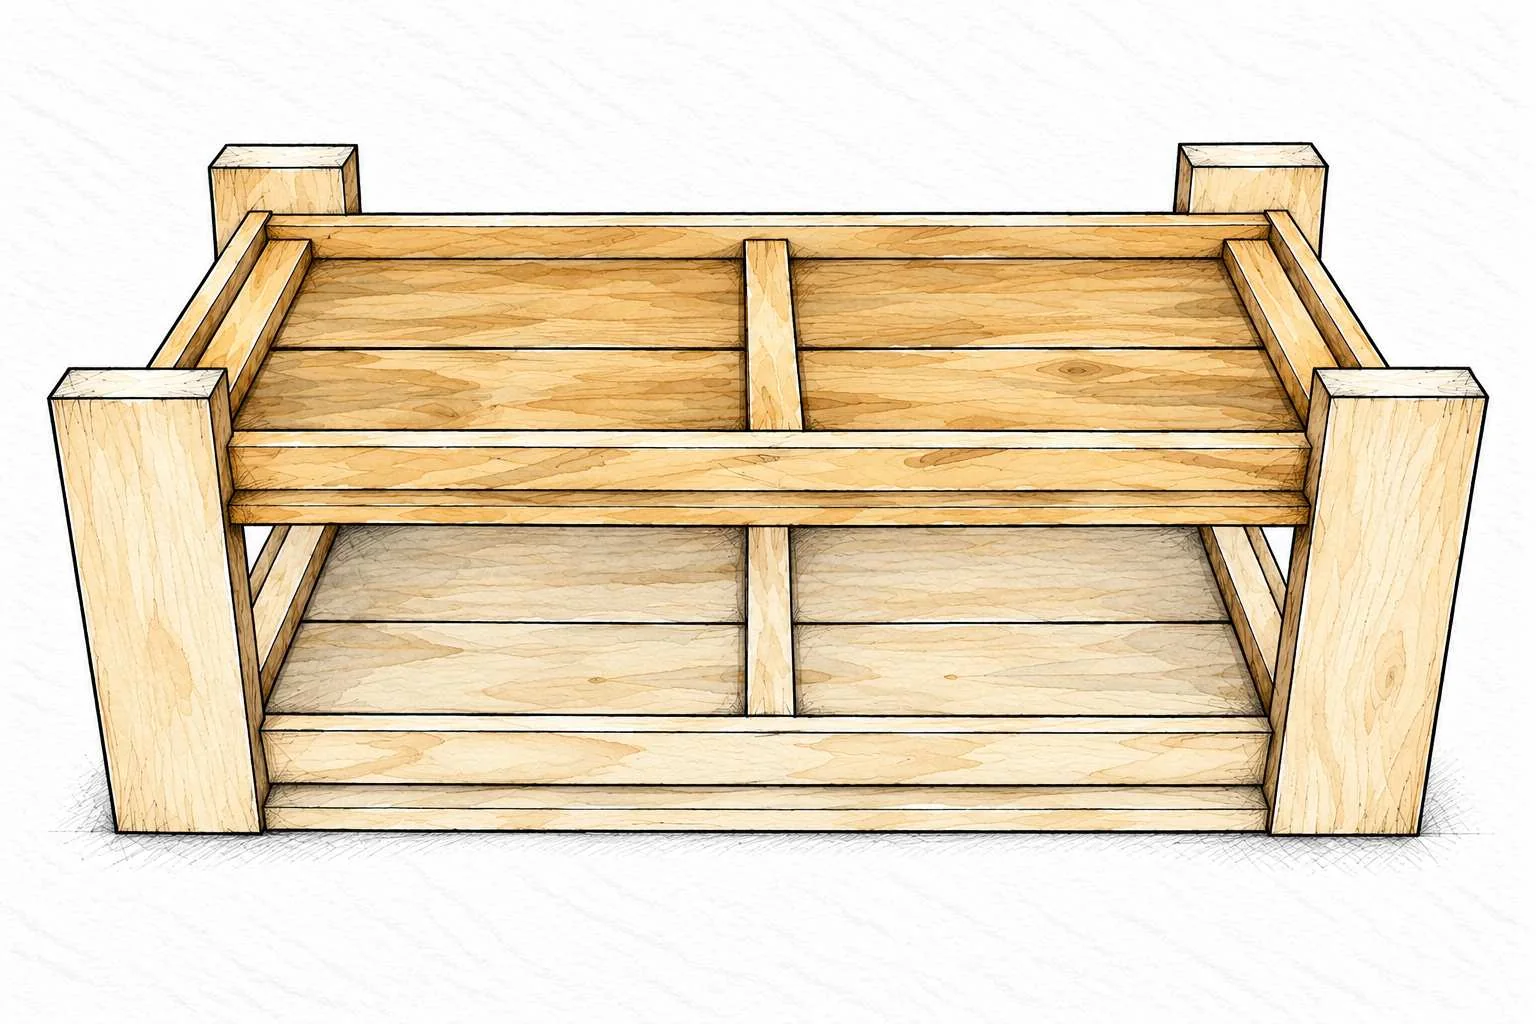
Set the shelf height

Keep the source’s inverted orientation for the height check.

Set the shelf height · Chunky Leg Coffee Table

Lower shelf + four legs / Final assembly

Position the lower shelf with 2 1/2 in (63.5 mm) from the exposed foot ends to the underside of its frame. Fasten with two 2 in (50.8 mm) screws per leg, slightly outward, as for the top.

BEGINNER CHECK

This is clearance to the frame underside, not the shelf’s top surface. Mark all four legs from the same foot-end reference. Support the shelf while checking the marks. Finish all sixteen leg screws, then turn the table upright with help and check for rocking.

FINISH / INSPECT

Make it ready for home

Finish quality comes from preparation, not extra decoration.

BEFORE APPLYING A FINISH

Inspect the joints, feel for sharp edges and check that the table rests evenly on a level surface. Correct loose connections before use. This proof does not establish a load rating; do not use the table as a step or seat.

SAND AND CLEAN

Use the source-listed 120- and 150-grit papers as appropriate for your chosen finish. Work with the grain, avoid rounding the fitted edges excessively, and remove dust thoroughly. Test your finish on an offcut first.

APPLY AND CURE

Choose paint or stain for the look you want. Follow the coating label for preparation, ventilation, coat thickness, drying and full cure time. The watercolor colors in this guide are an art direction, not a specified stain formula.

FINAL CHECK

Confirm that all sixteen leg screws are installed, the shelf is secure and no fastener tips protrude. Add the table to your room only after the finish has fully cured. Decorative accessories in the cover artwork are not part of the build.

SOURCE RECORD / STYLE PROOF

Plan notes & attribution

Keep the original illustrated plan available at the workbench.

ORIGINAL PROJECT

Chunky Leg Coffee Table - Rectangle Original creator: Ana White Catalog ID: DIY-111 Source reviewed: October 29, 2026

Open the original plan on Ana White

WHAT THIS PROOF DOES

All seven assembly illustrations reinterpret the matching source stages as raster watercolor-and-ink artwork. Parts and sequence follow the source; beginner checks are supplementary guidance. Images illustrate the method, not a scale cutting template or independently certified engineering plan.

NOT SPECIFIED BY THE SOURCE

ACCESS AND PERMISSION

The original tutorial was freely readable. Free access does not establish permission to redistribute original plans or images. Reuse permission is not independently verified; this is a private design proof, not a license for app publication or resale.

Ana White terms of service

MAKE IT YOURS

Measure your own stock and dry-fit before fastening. If you make this project, I would love to see what you built.

Share your build