FREE WOODWORKING PLAN
Shelves / INTERMEDIATERead the free planMade this plan? Share your build
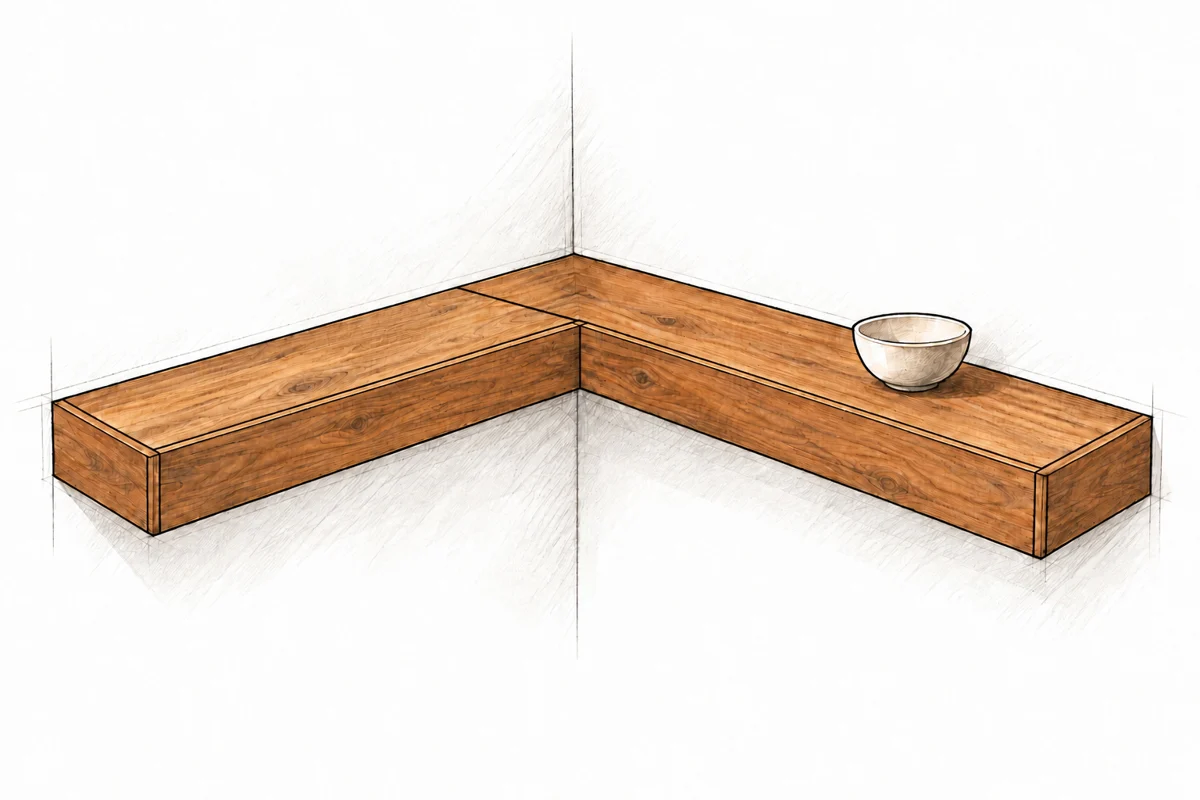
Floating Corner Shelf
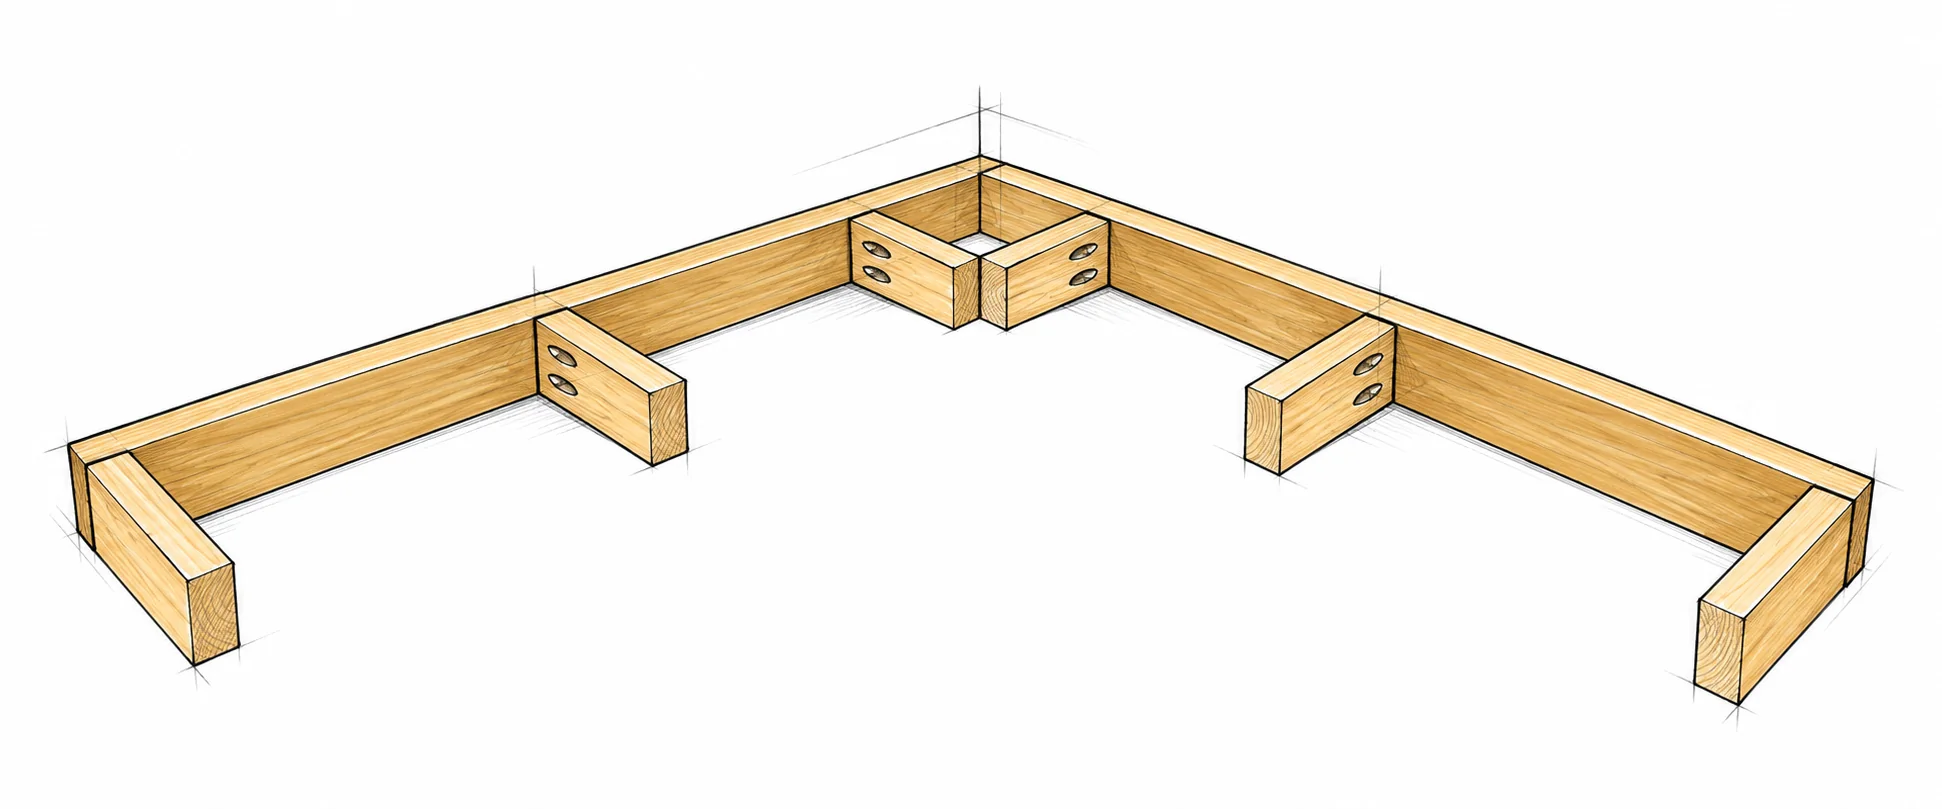
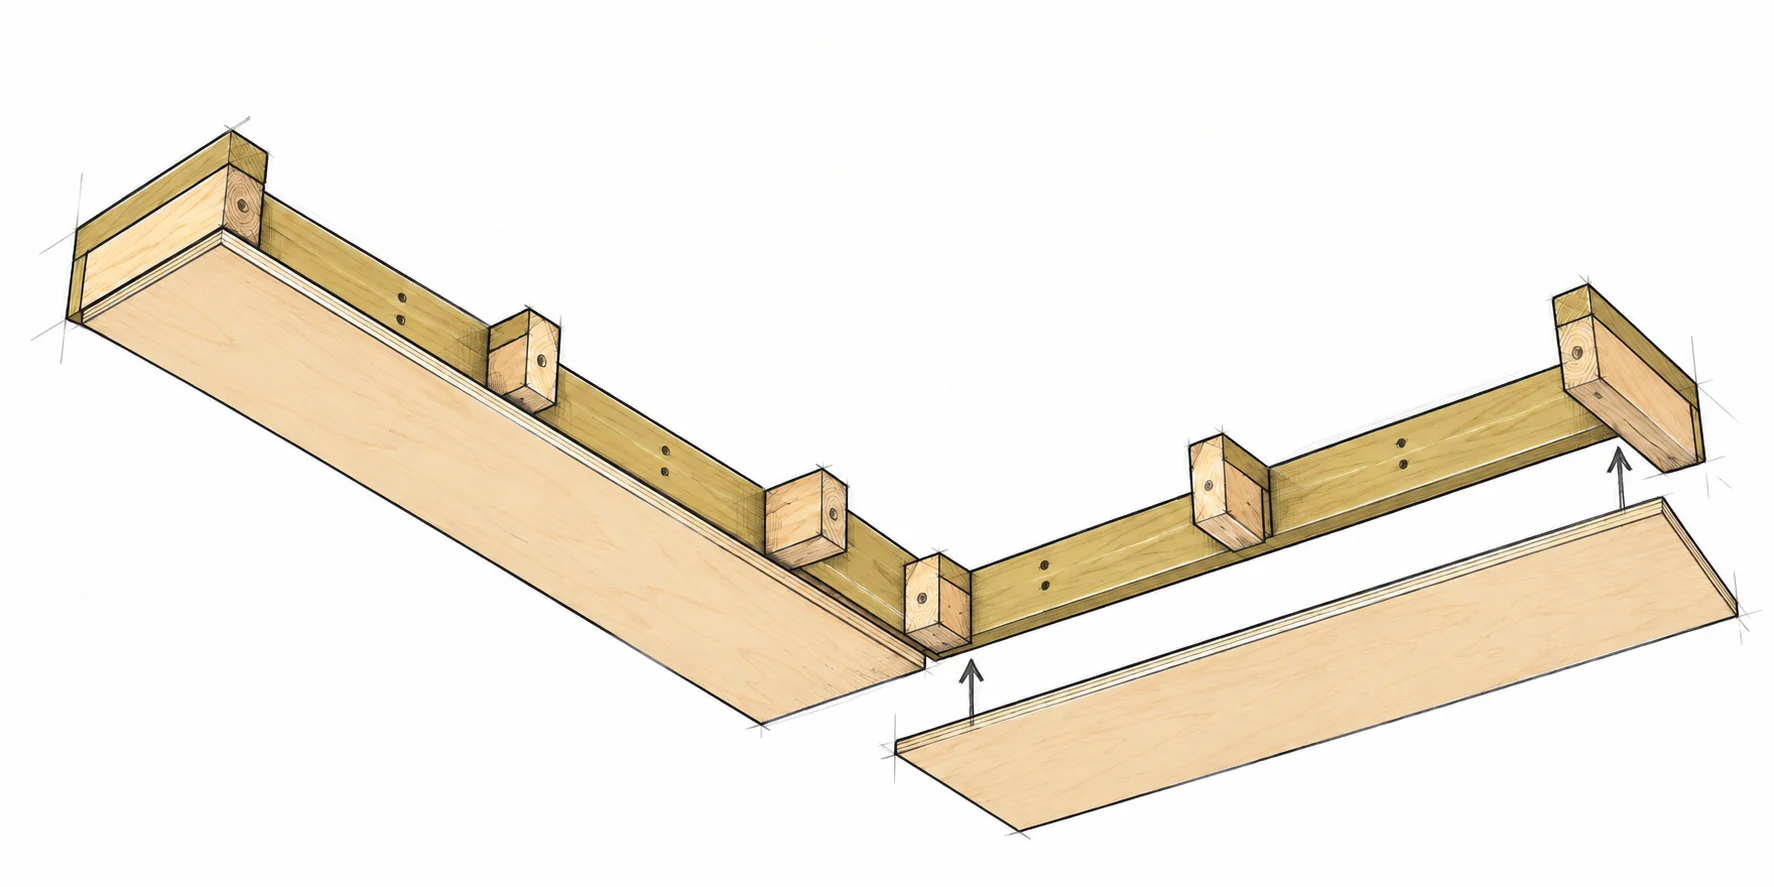
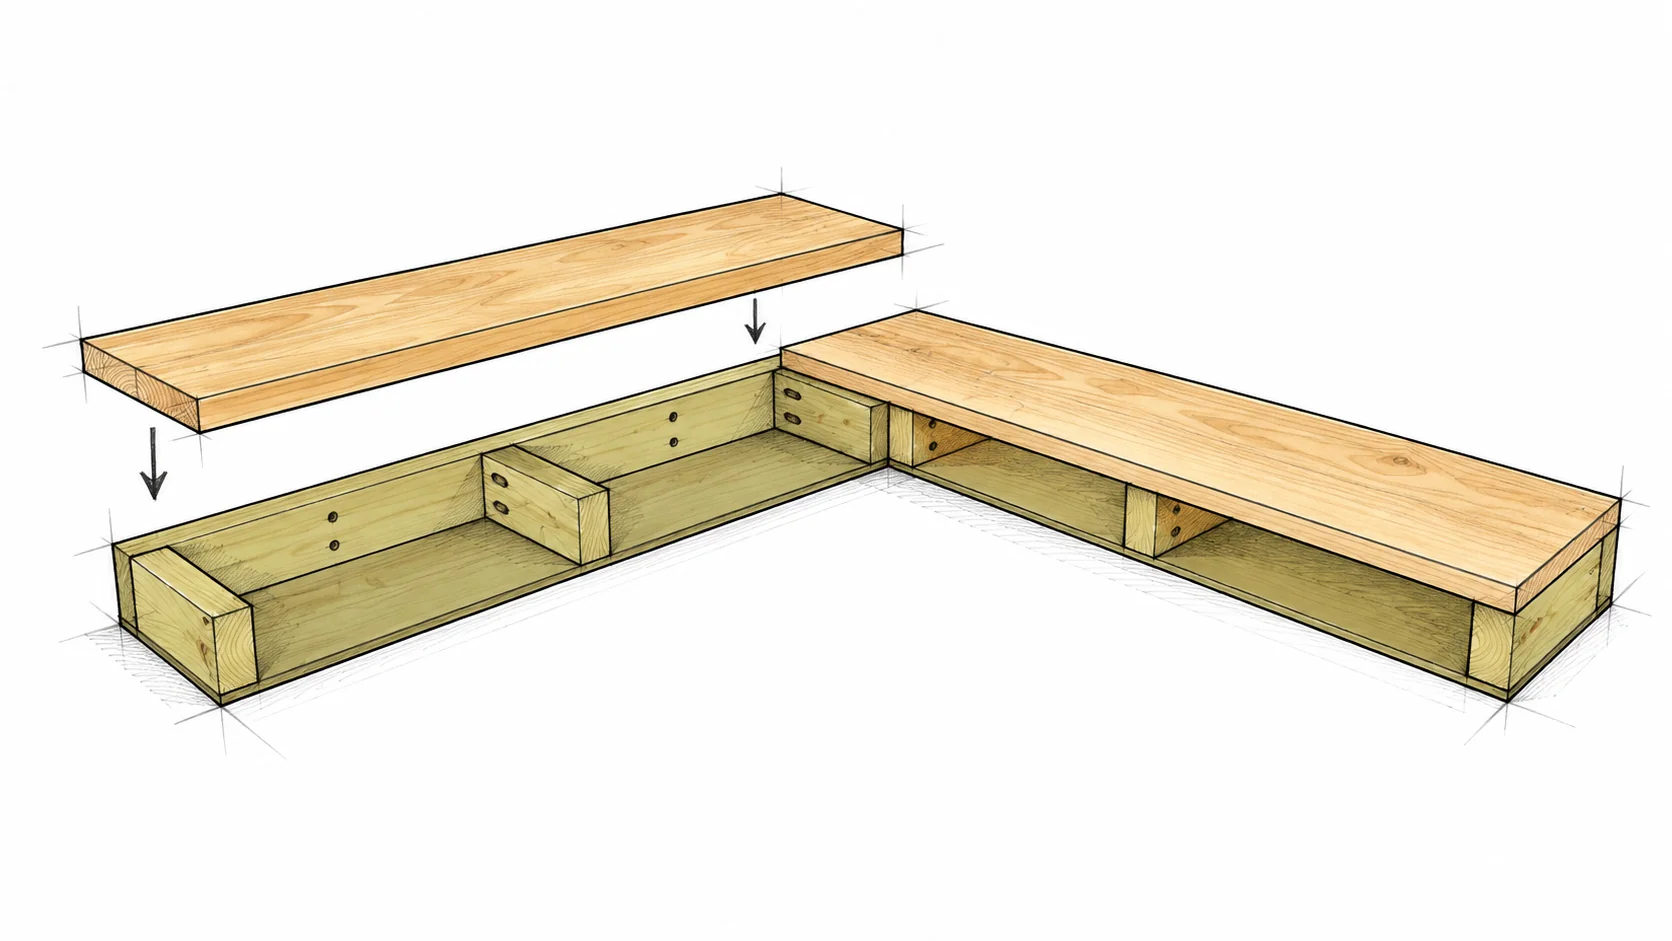
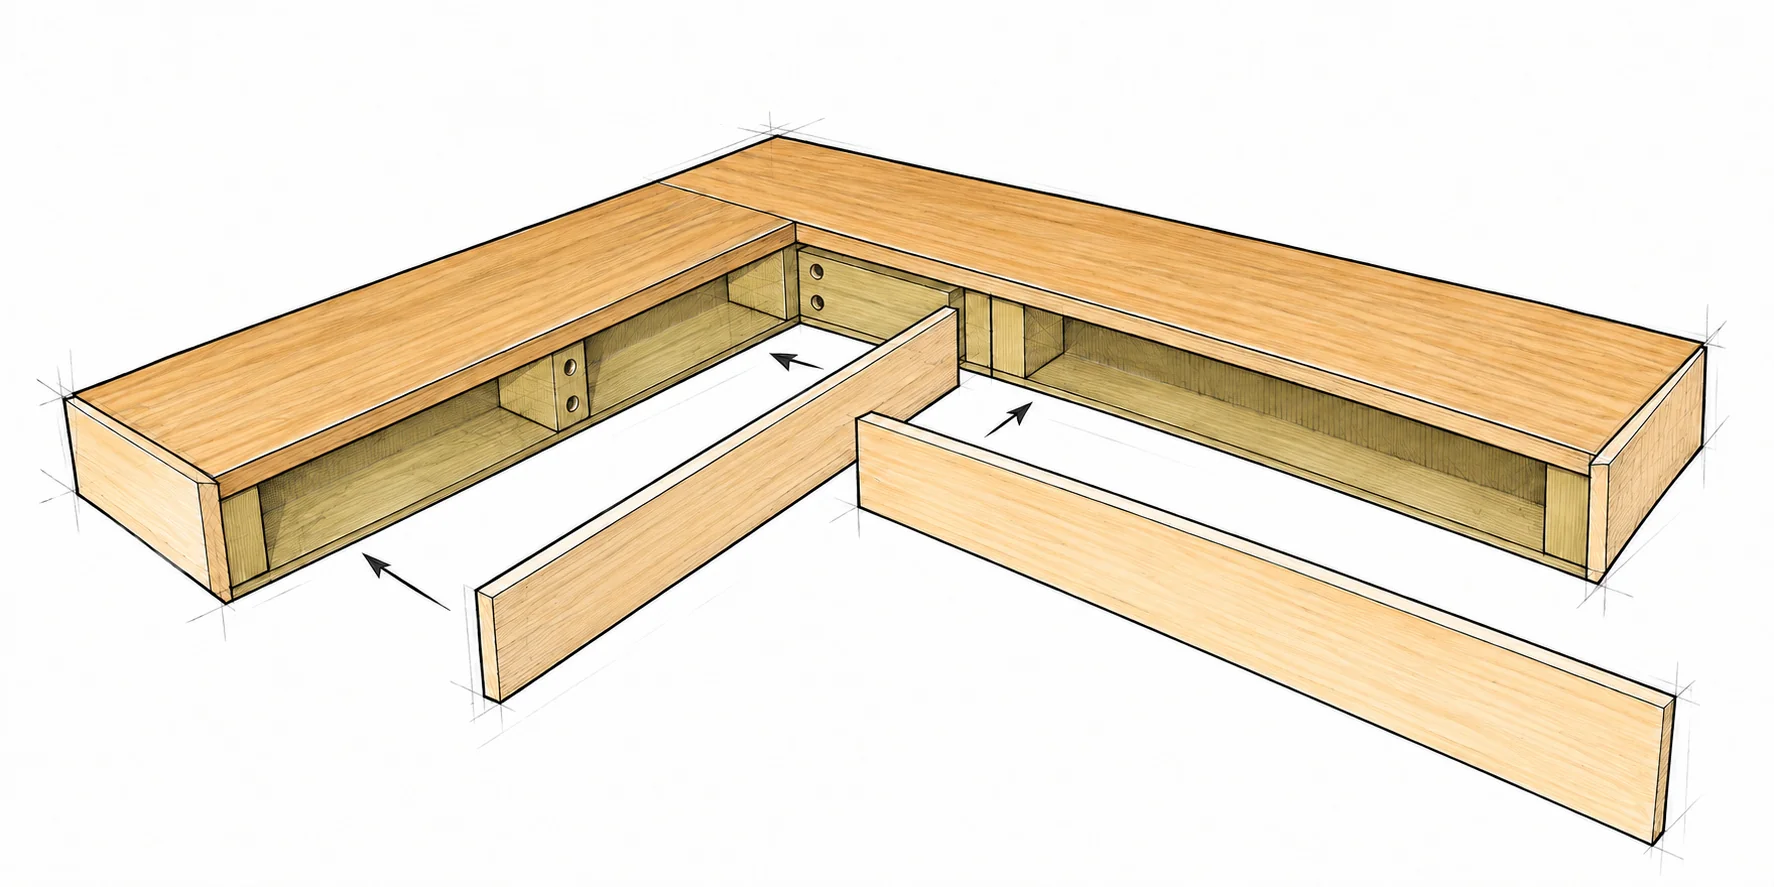
An L-shaped floating shelf with hidden cleats and a timber top.
FINISHED DIMENSIONS42 × 42 × 4 1/2 in
SKILL LEVELIntermediate
WHAT IS INCLUDEDMaterials, cut list and illustrated steps
A GOOD BUILD STARTS WITH A CLEAR PLAN
- Materials and tools
- Cutting information and dimensions
- Illustrated assembly steps
FROM THE FIRST CUT TO THE LAST DETAIL
Take it one step at a time
Everything you need to follow this build is written below. Read the materials, measurements and construction notes before your first cut.
Read the build stepsYes. The complete plan is available to read on this page.