WOODWORKING · DIY · A HANDMADE HOME @grainbyjoy
GRAIN by JoyWOODWORKING PLANS · WORKSHOP STORIES · HOME
FIND YOUR NEXT GOOD THING
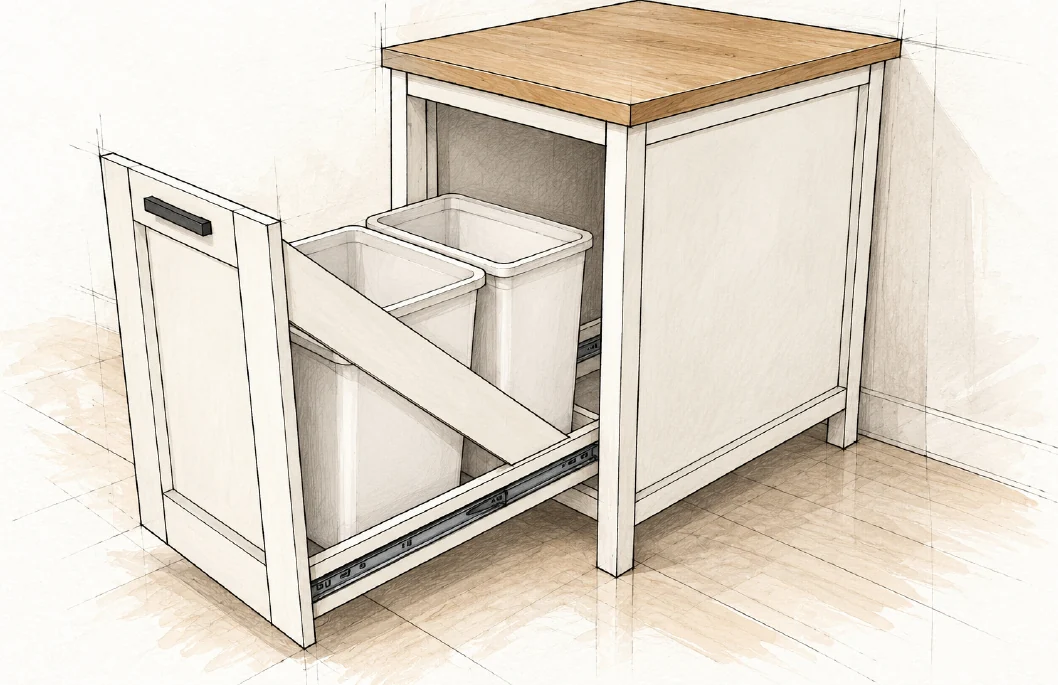
WOODWORKING PLANPullout Bin Kitchen Island
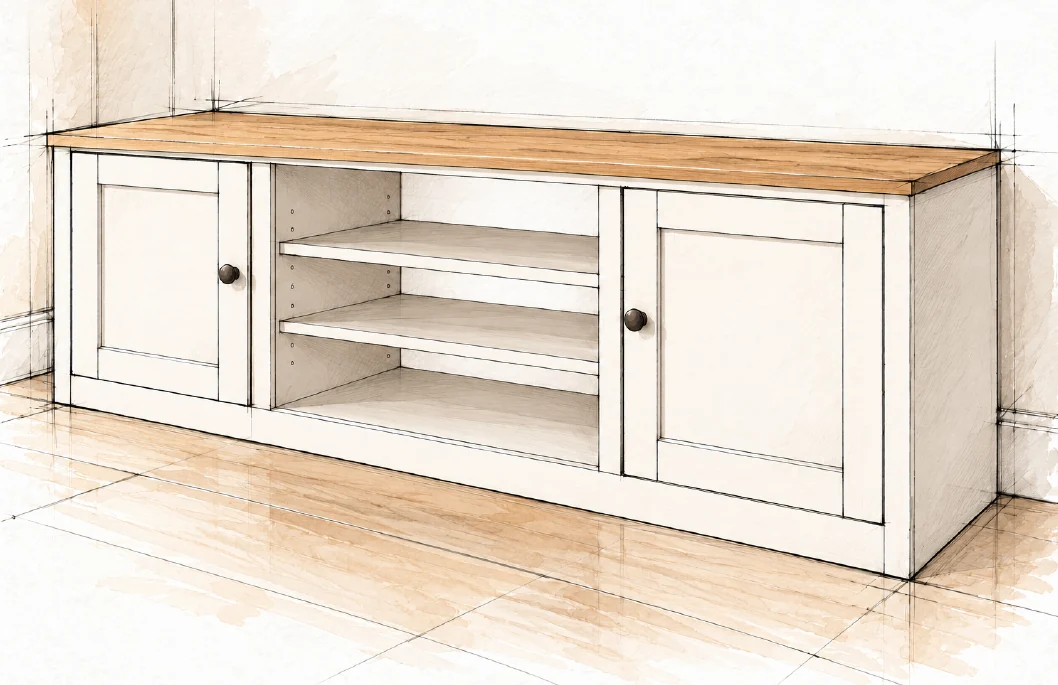
WOODWORKING PLANFarmhouse Media Console
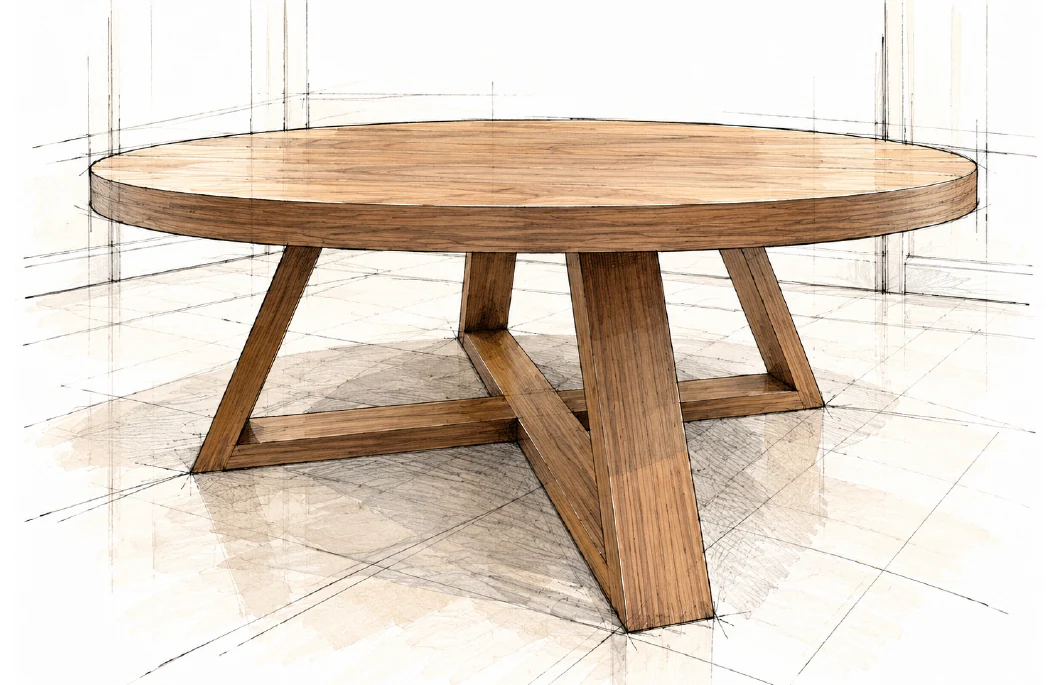
WOODWORKING PLANRound Coffee Table
WOODWORKING PLANGeometric Hairpin Coffee Table
WOODWORKING PLANHollow Panel Waterfall Console
WOODWORKING PLANFarmhouse Console Table
WOODWORKING PLANBarn Door Console
WOODWORKING PLANBeginner Farm Table
WOODWORKING PLANFarmhouse Coffee Table
Modern Farm TableFREE WOODWORKING PLAN
Tables / BEGINNER

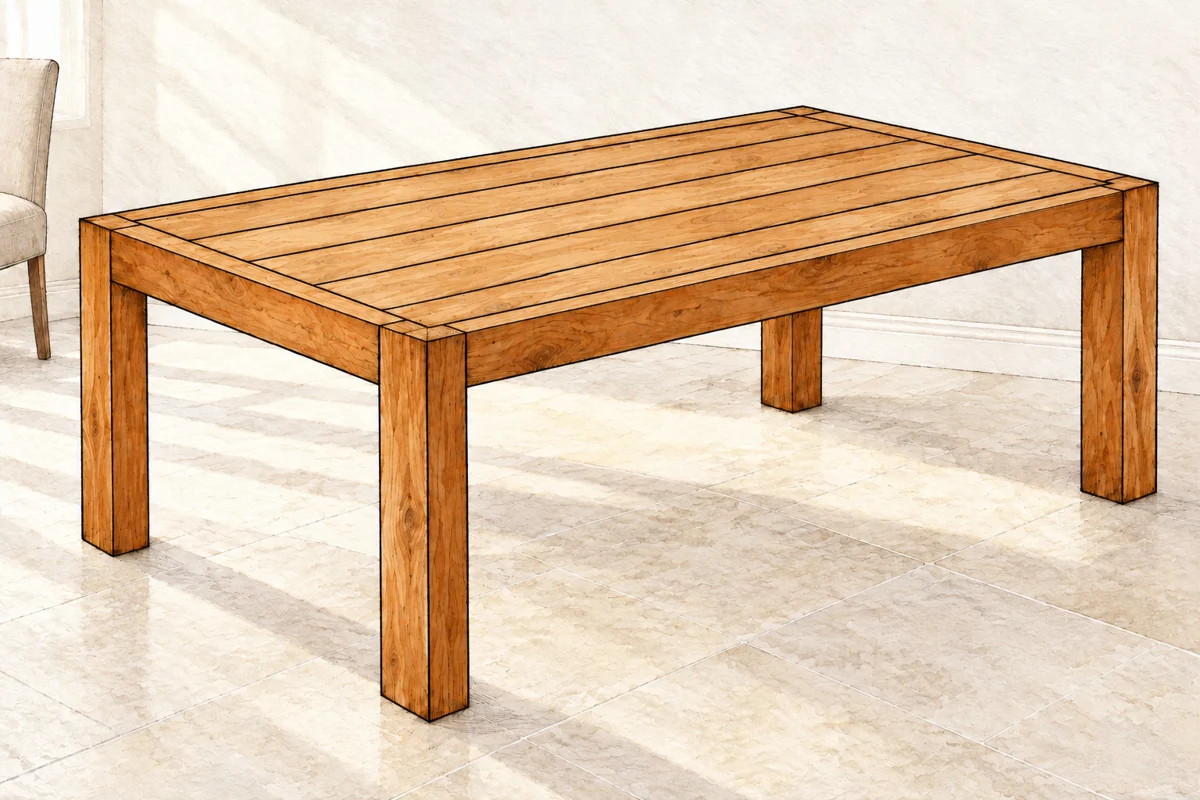
Modern Farm Table

A clean-lined dining table with six inset top boards.

FINISHED DIMENSIONS66 × 36 × 30 in
SKILL LEVELBeginner
WHAT IS INCLUDEDMaterials, cut list and illustrated steps
Read the free planMade this plan? Share your build
A GOOD BUILD STARTS WITH A CLEAR PLAN
  • Materials and tools
  • Cutting information and dimensions
  • Illustrated assembly steps
FROM THE FIRST CUT TO THE LAST DETAIL

Take it one step at a time

Everything you need to follow this build is written below. Read the materials, measurements and construction notes before your first cut.

Read the build steps

Yes. The complete plan is available to read on this page.
THE FREE BUILD GUIDE

Modern Farm Table

A clean-lined dining table with six inset top boards.

01 / BEFORE THE FIRST CUT

Materials

Choose straight, dry boards and let them adjust to the indoor conditions where the table will be used.

Quantity Nominal stock Purchase length

6 2×6 8 ft / 96 in / 2438.4 mm

5 2×2 8 ft / 96 in / 2438.4 mm

2 2×4 8 ft / 96 in / 2438.4 mm

Fasteners and finishing supplies

2 1/2 in (63.5 mm) self-tapping wood screws, suitable for the selected lumber. Use wood screws, not drywall screws. Also prepare coarse-to-fine abrasives, wood filler and an interior stain or paint system.

How many screws

The underside alone uses 108 screw positions. Additional screws attach the board ends and frame joints; a complete total is not specified. Count the full dry layout before purchasing fasteners.

Use the stock efficiently

The 8 ft purchasing layout is a practical allowance for these cuts, not a required finished dimension. Check usable lengths, damaged ends and saw kerf before cutting. Do not glue the six top boards into one wide panel.

02 / SAFE WORKSHOP SETUP

Tools and preparation

Read all seven stages before cutting. The table is assembled with ordinary wood screws, not pocket-hole joints.

Measure and mark

Use a tape measure, square and pencil. Label parts A to F and mark the inside face of each apron. Illustrations are not to scale; use the written measurements. Sage highlights identify the parts being added.

Cut and assemble

Circular saw with a suitable guide, drill and driver, compatible bits, pilot and countersink bits, clamps, and sander. A pocket-hole jig and nailer are not required for the screw sequence in this guide.

Protect yourself

Wear safety glasses and hearing protection. Use appropriate dust protection and extraction. Clamp and support each cut; keep hands out of the blade path. Disconnect power before blade changes or adjustments.

Test the screws first

Pilot and countersink as needed for the wood and screw manufacturer. Test on matching offcuts. Keep heads flush rather than deeply buried, and check that the screw cannot emerge through the far face.

Work on a flat surface

Compare both diagonals to check a rectangular frame for square. Equal diagonals and flush joints help prevent racking. Get another person to help turn the assembled table safely.

03 / PARTS A TO F

Cut list

All cuts are square. Inches are the primary dimensions; metric references are rounded to the nearest 0.1 mm.

PartQtyStockCut size and use
A42×630 762.0 Legs
B22×233 838.2 End supports
C22×463 1600.2 Side aprons
D22×425 635.0 End aprons
E72×233 838.2 Top supports
F62×663 1600.2 Top boards

2×6 cutting layout

Cut one F and one A from each of four boards: 63 + 30 = 93 in (2362.2 mm), before kerf and end trimming. Cut one F from each of the two remaining boards.

2×2 and 2×4 cutting layout

Make nine 33 in B/E supports from five 2×2 boards, with two pieces from each of four boards and one from the fifth. Each 2×4 board yields one C and one D: 63 + 25 = 88 in (2235.2 mm).

04 / MEASURE BEFORE ASSEMBLY

Sizes and fit

Nominal sizes are shopping names. Measure the actual cross-section of every board before relying on these fit checks.

Nominal Actual cross-section in Actual cross-section mm

2×2 1 1/2 × 1 1/2 38.1 × 38.1

2×4 1 1/2 × 3 1/2 38.1 × 88.9

2×6 1 1/2 × 5 1/2 38.1 × 139.7

Calculated overall size

Standard stock gives 66 × 36 × 30 in (1676.4 × 914.4 × 762.0 mm). Length is 63 + 1 1/2 + 1 1/2 in; width is 33 + 1 1/2 + 1 1/2 in. Height stays 30 in because the top is inset, not stacked above the legs.

The tabletop sits inside the frame

The nominal opening is 63 × 33 in (1600.2 × 838.2 mm). Six 5 1/2 in boards total 33 in. Dry-fit all six before fastening. The top, leg ends and apron upper edges should share one level plane.

Solid wood still moves

These are separately fastened boards, not a floating tabletop. Keep their long edges unglued. Do not force damp, bowed or oversize boards into the frame. Seasonal changes can still open seams or stress fixed joints; this is not movement-proof joinery.

STEP 01 / ASSEMBLY

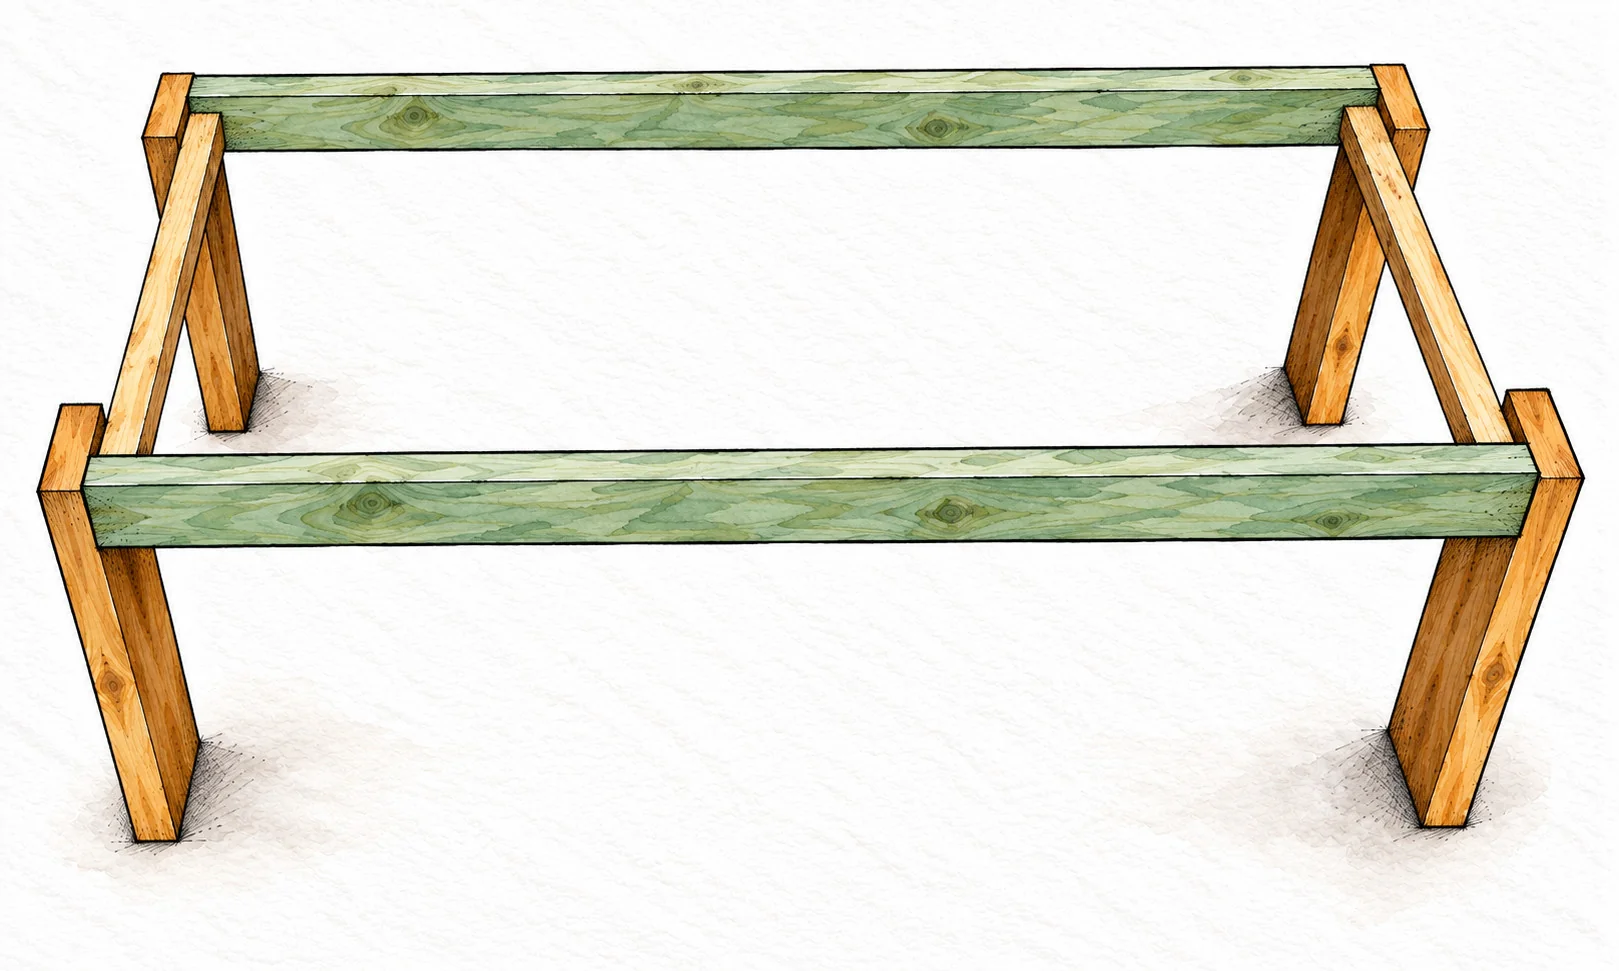
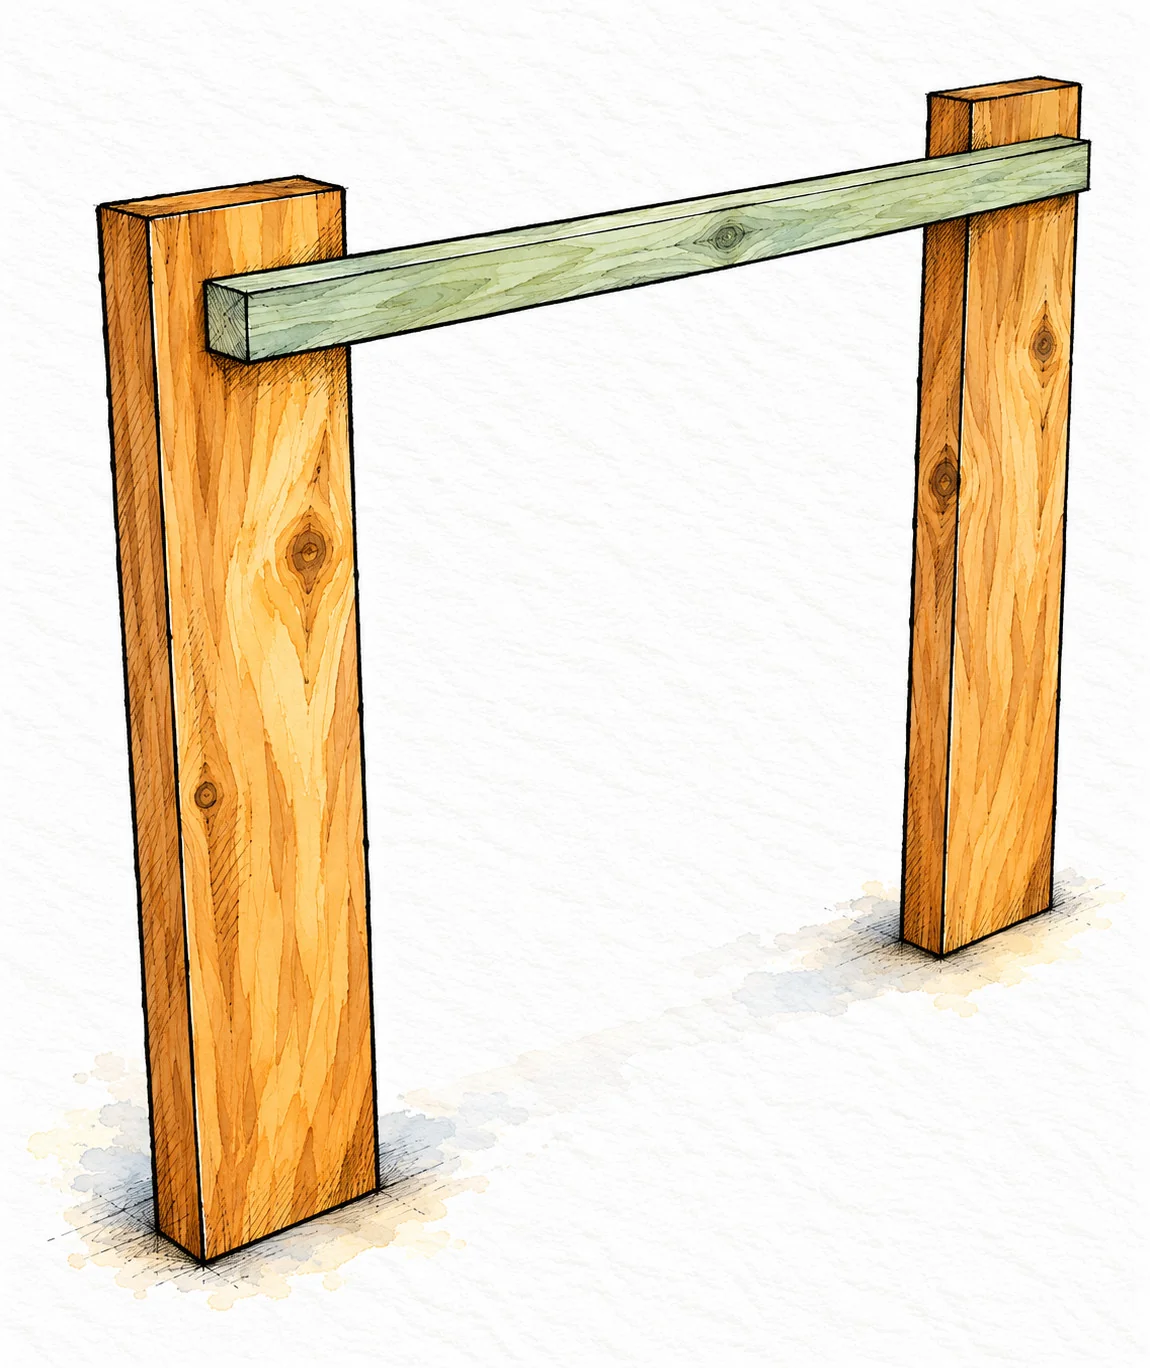
Build the two end units

A × 4 / B × 2

modern farm table — 6 illustration
Build the two end units · Modern Farm Table

Mark matching legs

On the inside faces of two legs A, mark 1 1/2 in (38.1 mm) below the top and 1 1/2 in inward from each outer side edge. Keep the broad leg faces in the short-end plane.

Attach the end support

Position B across the two legs with its top and ends on those marks. Clamp, predrill and secure B to each leg with 2 1/2 in (63.5 mm) wood screws. Repeat to make the second identical end unit.

BEFORE YOU CONTINUE

Both B supports must be at the same height. They sit below the leg tops, not flush with them.

STEP 02 / ASSEMBLY

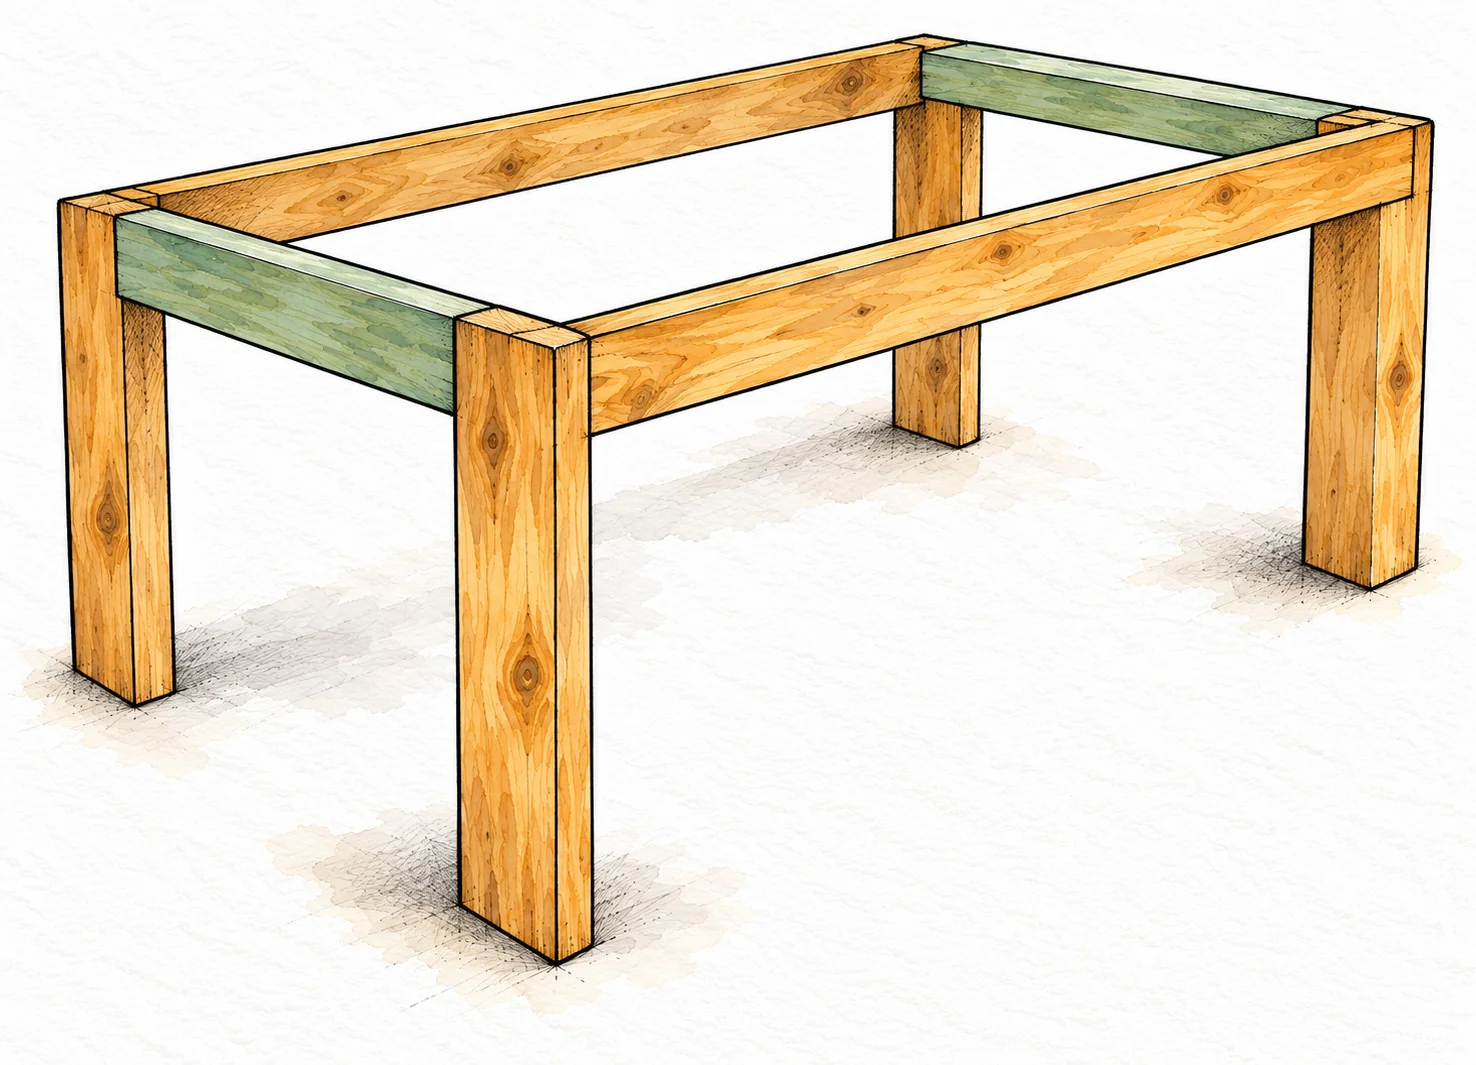
Connect the long aprons

C × 2 / Assembled end units

modern farm table — 7 illustration
Connect the long aprons · Modern Farm Table

Hold the ends upright

Place the two end units parallel on a flat surface. Fit the 63 in (1600.2 mm) side aprons C between them. Set each apron on edge, with its top flush with the leg tops.

Use both attachment paths

Clamp and predrill. Drive 2 1/2 in (63.5 mm) wood screws through C into B, then through the outside of each leg A into the end of C. Stagger intersecting screw paths. Compare both diagonals before tightening.

BEFORE YOU CONTINUE

Keep the frame square and all four feet level. The opening stays empty at this stage.

STEP 03 / ASSEMBLY

Close the end aprons

D × 2 / 25 in end aprons

modern farm table — 8 illustration
Close the end aprons · Modern Farm Table

Fit the short aprons

Place one D between the broad leg faces at each short end. Its top must align with the leg and side-apron tops. With standard stock, the 25 in (635.0 mm) D fills the space between the legs.

Fasten to the end supports

Clamp D against B, predrill and drive 2 1/2 in (63.5 mm) wood screws through D into B. Avoid existing screw paths. Recheck both diagonals and adjust before fully seating the screws.

BEFORE YOU CONTINUE

The apron perimeter is complete. Both B supports remain inside and below the upper edges.

STEP 04 / ASSEMBLY

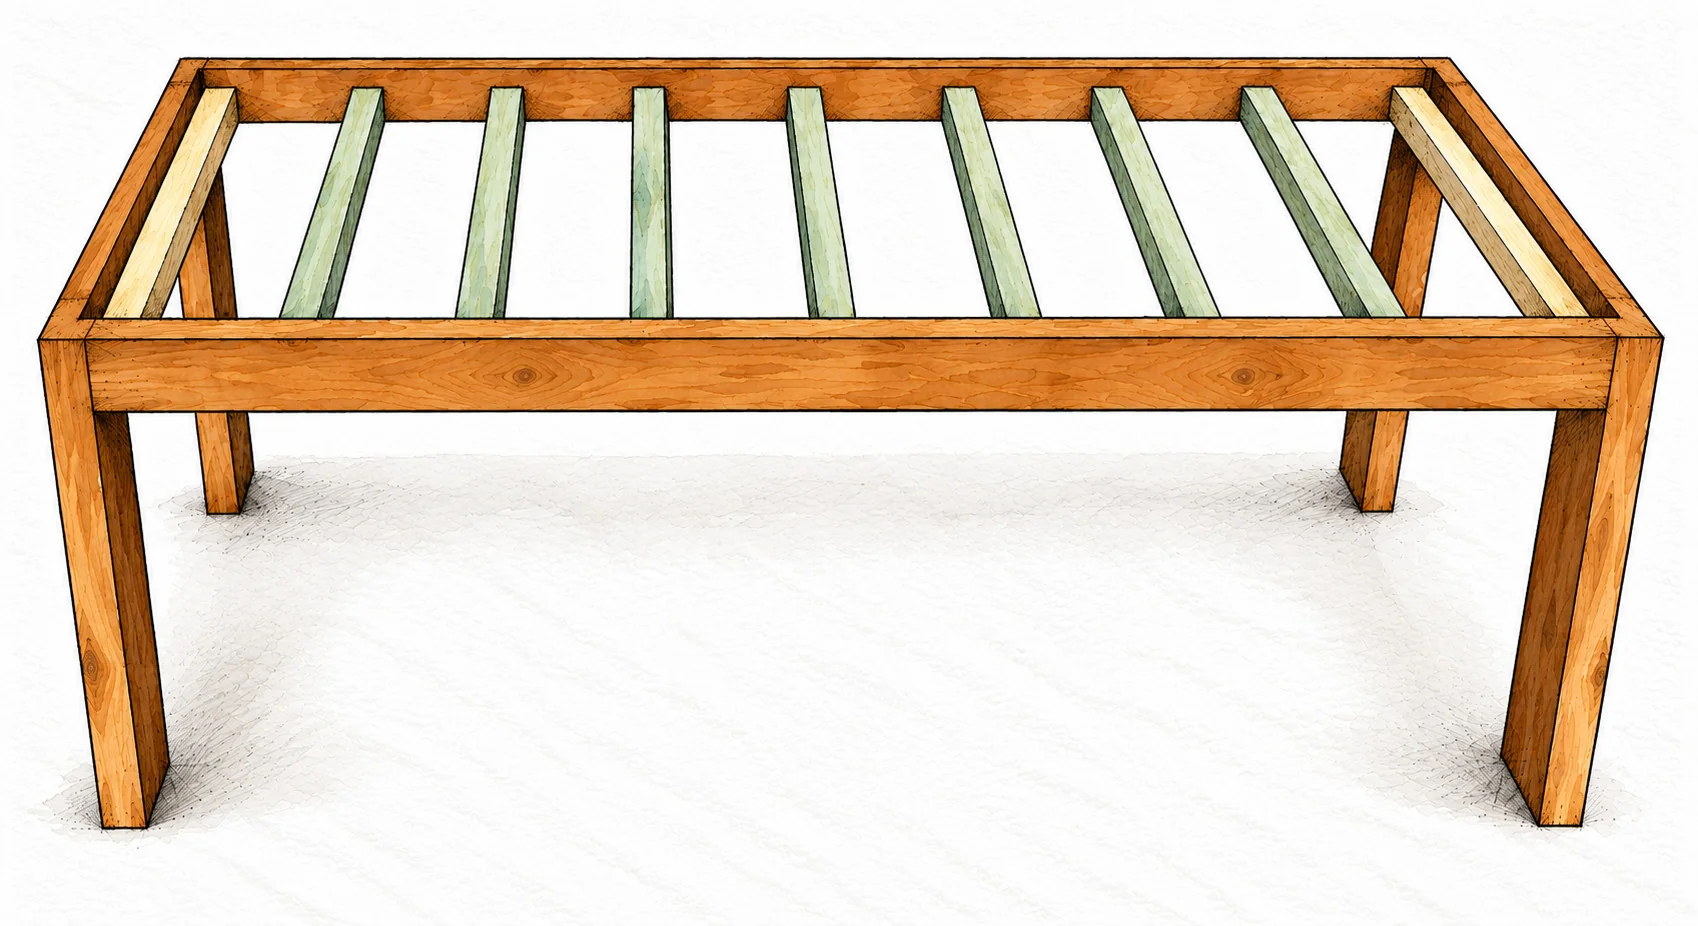
Add the seven top supports

E × 7 / Nine supports in total

modern farm table — 9 illustration
Add the seven top supports · Modern Farm Table

Mark the recessed top level

Draw a line 1 1/2 in (38.1 mm) below the upper edge on both side-apron inside faces. This line locates the TOP of each E support. Mark across from one side to the other.

Position and attach E

Mark at 6 in (152.4 mm) intervals and fit all seven E supports across the opening. The final space need not match the others. Clamp each support to the height line, predrill through C and secure with 2 1/2 in (63.5 mm) wood screws.

BEFORE YOU CONTINUE

Count seven new E supports plus two B end supports. All nine upper faces must be level.

STEP 05 / ASSEMBLY

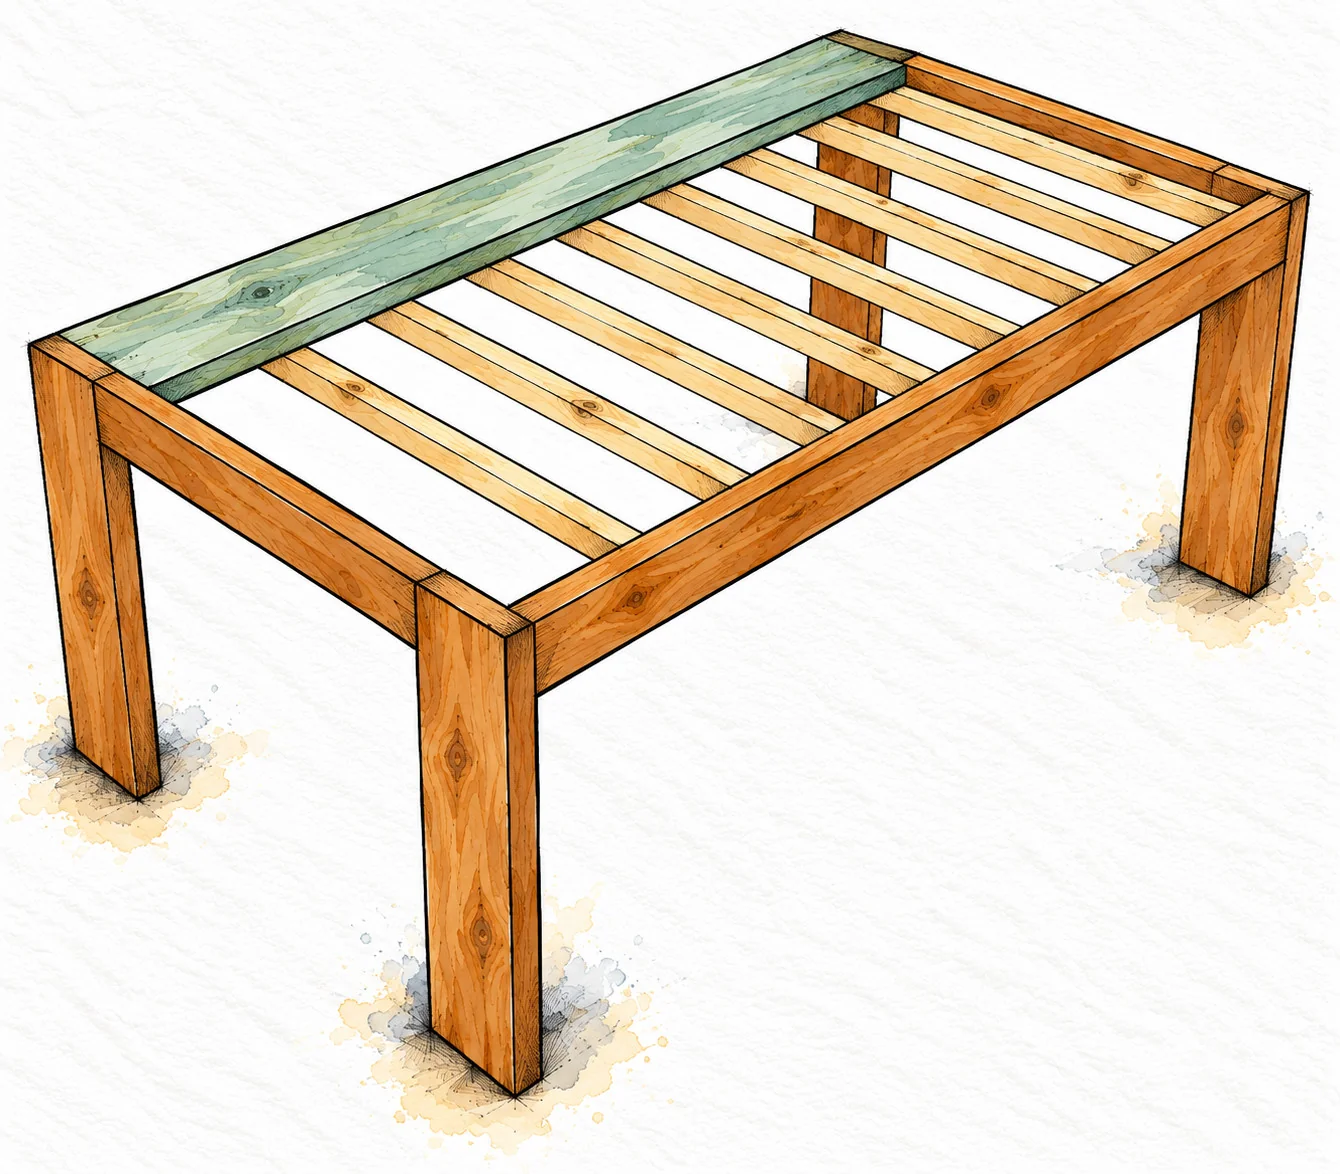
Fit the inset top boards

F × 6 / First board shown in place

modern farm table — 10 illustration
Fit the inset top boards · Modern Farm Table

Start along one long side

Place the first F on the supports inside the apron frame, as illustrated. Its length runs along the table. The board ends stay inside the end aprons; the board must not sit on top of the perimeter.

Dry-fit all six before drilling

Add the other five F boards alongside it. Check their combined width against the actual opening. Keep the long edges unglued and the top faces flush with the apron tops. Do not force a bowed or oversize board into the opening.

BEFORE YOU CONTINUE

The finished top contains six long boards and five internal seams, with no edge overhang.

STEP 06 / ASSEMBLY

Mark the top end fasteners

F board end / Three pilot positions

modern farm table — 11 illustration
Mark the top end fasteners · Modern Farm Table

Lay out the three positions

At each end of an F board, mark a line 3/4 in (19.1 mm) inward from its cut end. On that line, mark 1 in (25.4 mm), 2 3/4 in (69.9 mm) and 4 1/2 in (114.3 mm) from the same long edge.

Fasten into the end support

Check that B is directly beneath every mark. Clamp the board, predrill and countersink as needed. Use 2 1/2 in (63.5 mm) wood screws through F into B. Repeat the pattern for the remaining board ends, keeping all top faces level.

BEFORE YOU CONTINUE

All three marks belong on the same F board, not on an apron. Keep heads flush and avoid splits.

STEP 07 / ASSEMBLY

Secure the top from below

6 boards × 9 supports × 2 holes = 108

modern farm table — 12 illustration
Secure the top from below · Modern Farm Table

Turn the table carefully

With help, turn the secured assembly upside down onto a padded, flat surface. Through every B and E support, mark two pilot holes beneath each F board. This gives 108 underside holes in total.

Drill and drive with control

Avoid the earlier top-down screws at the end supports. Predrill without piercing the top face. Drive 2 1/2 in (63.5 mm) wood screws through the supports into F; do not bury the heads. Inspect for protruding tips before turning upright.

BEFORE YOU CONTINUE

Nine supports must secure all six top boards. No screw should emerge through the finished tabletop.

FINISH / READY FOR USE

Sand finish and inspect

The cover shows a warm wood finish. Test your chosen color and finish system on an offcut first.

Prepare the surface

Fill exposed screw holes if desired. Sand with the grain, working from coarser to finer abrasives, and soften sharp edges. Remove dust thoroughly. For a stained finish, check filler compatibility and color on scrap.

Apply an interior finish

Use an interior paint system, or stain followed by a compatible protective clear coat. Follow the product label for preparation, ventilation, recoating and full cure. Handle and dispose of stain-soaked materials exactly as directed.

Inspect the completed table

Check that all four feet contact the floor and the frame does not rack. Confirm that top boards are supported, screws are seated without splitting, and no sharp points protrude. Look underneath as well as on top.

Use and care

Allow the finish to cure fully before use. No tested load rating is provided. Use this as a table, not as a seat, ladder or climbing surface. Lift with help rather than dragging, and inspect joints periodically.

Keep a build record

Note the actual finished size, wood species and finish product. Recheck seams as humidity changes. If a board splits or a joint loosens, stop using the table until the damaged joint is repaired.

MAKE IT YOURS

Measure your own stock and dry-fit before fastening. If you make this project, I would love to see what you built.

Share your build