WOODWORKING · DIY · A HANDMADE HOME @grainbyjoy
GRAIN by JoyWOODWORKING PLANS · WORKSHOP STORIES · HOME
FIND YOUR NEXT GOOD THING
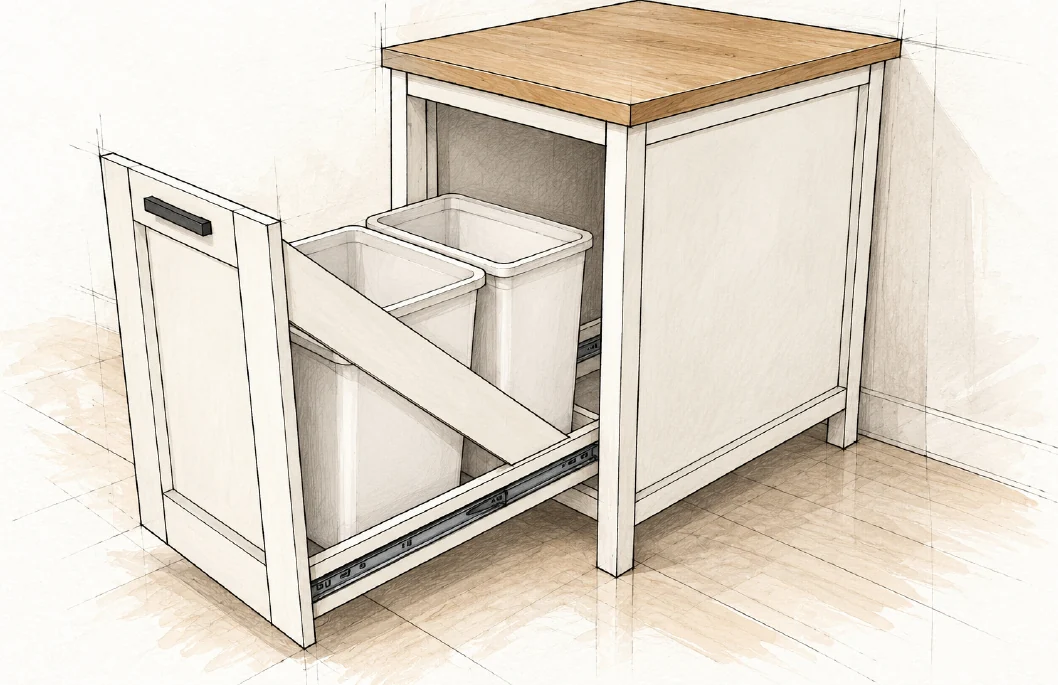
WOODWORKING PLANPullout Bin Kitchen Island
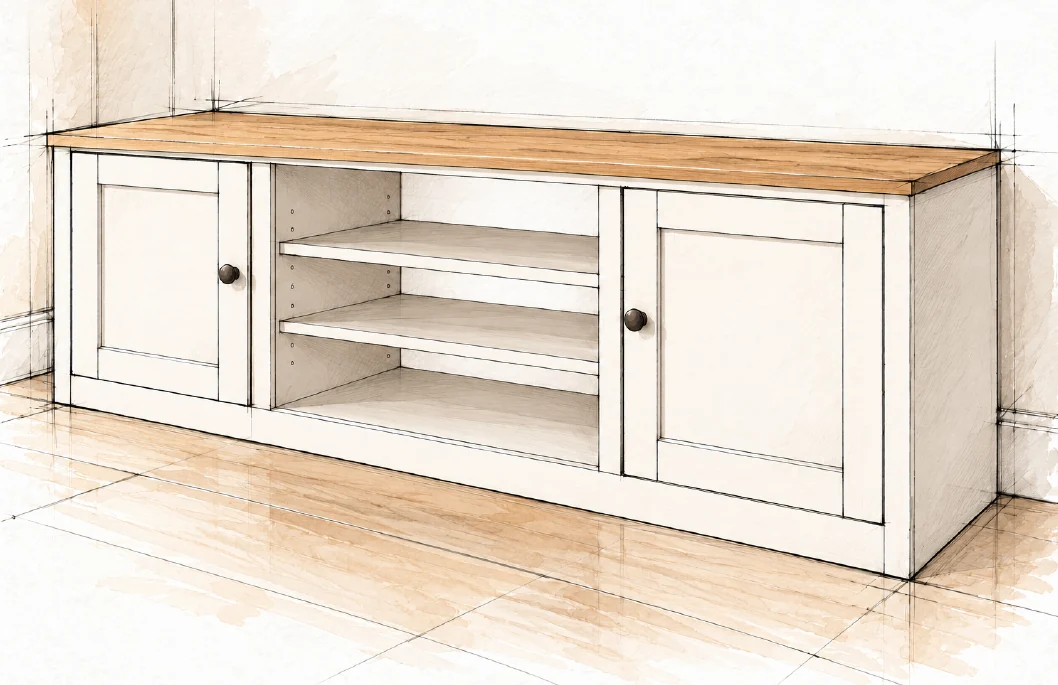
WOODWORKING PLANFarmhouse Media Console
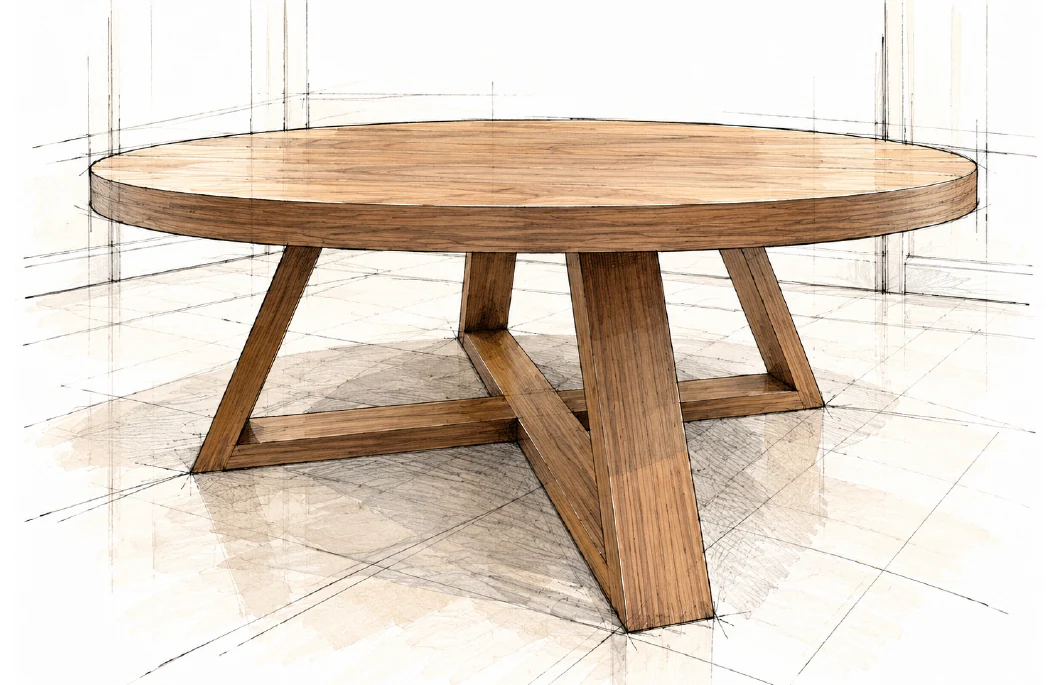
WOODWORKING PLANRound Coffee Table
WOODWORKING PLANGeometric Hairpin Coffee Table
WOODWORKING PLANHollow Panel Waterfall Console
WOODWORKING PLANFarmhouse Console Table
WOODWORKING PLANBarn Door Console
WOODWORKING PLANBeginner Farm Table
WOODWORKING PLANFarmhouse Coffee Table
FREE WOODWORKING PLAN
Shelves / BEGINNER

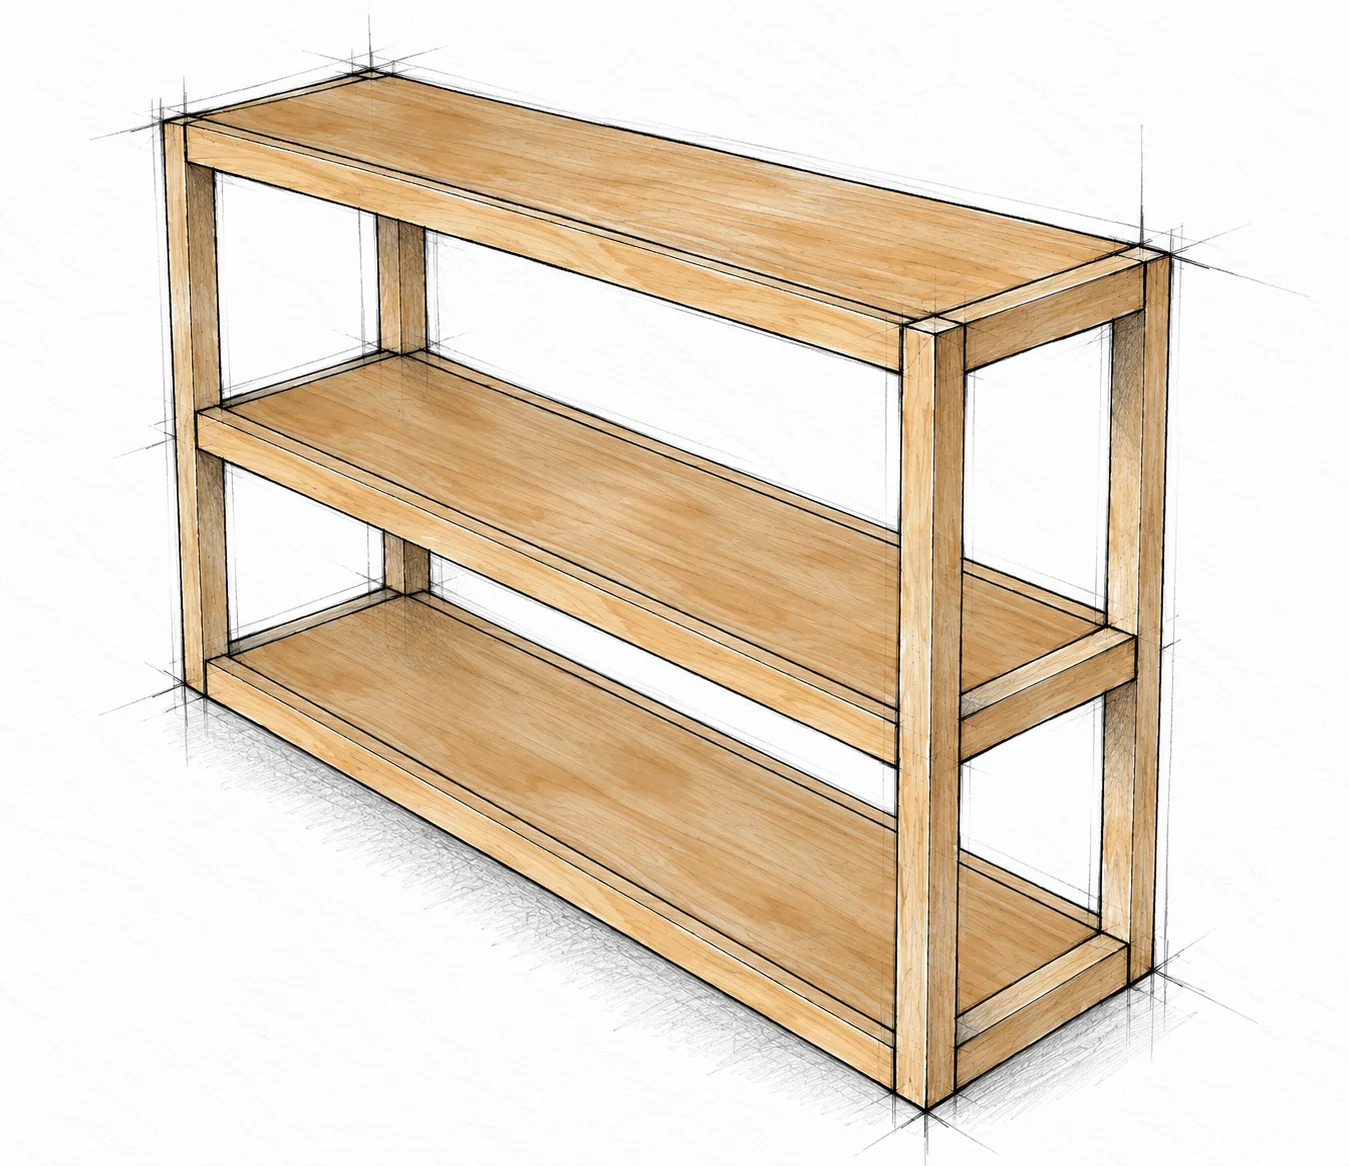
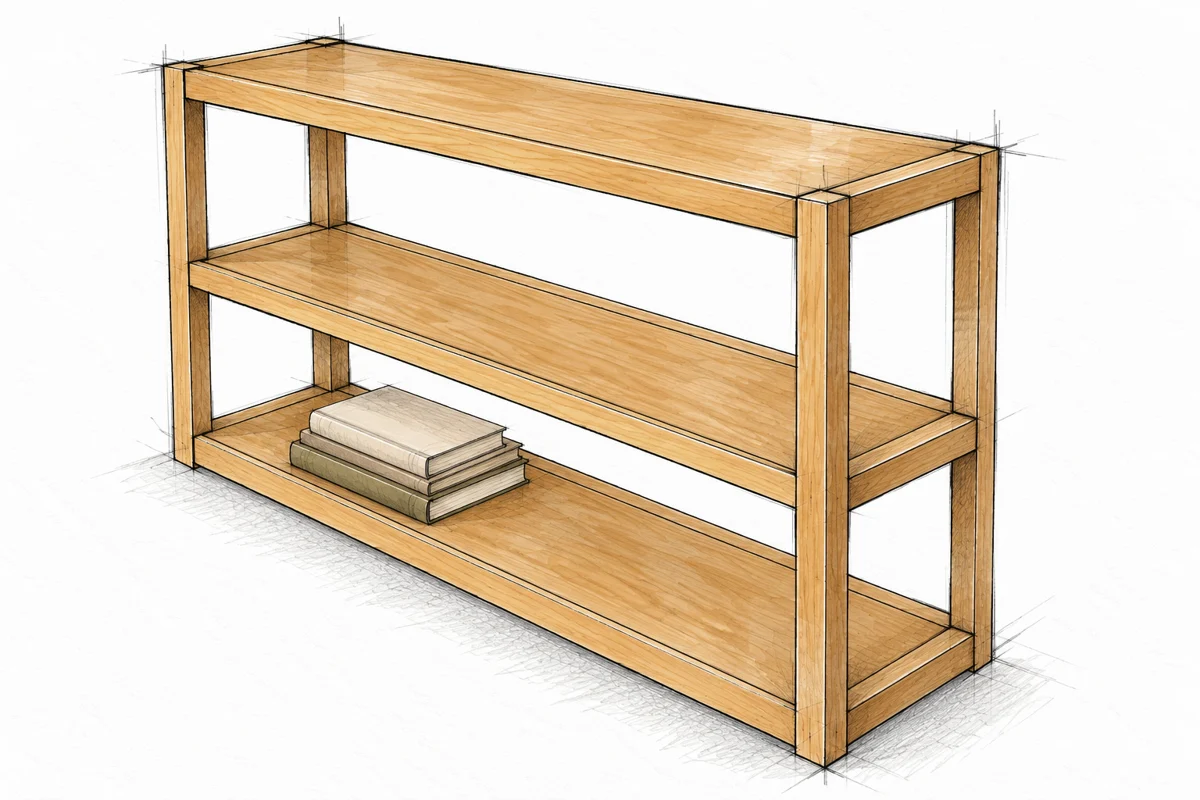
Parsons Console Bookshelf

An open console with a top and two storage shelves.

FINISHED DIMENSIONS48 × 14 1/4 × 32 in
SKILL LEVELBeginner
WHAT IS INCLUDEDMaterials, cut list and illustrated steps
Read the free planMade this plan? Share your build
A GOOD BUILD STARTS WITH A CLEAR PLAN
  • Materials and tools
  • Cutting information and dimensions
  • Illustrated assembly steps
FROM THE FIRST CUT TO THE LAST DETAIL

Take it one step at a time

Everything you need to follow this build is written below. Read the materials, measurements and construction notes before your first cut.

Read the build steps

Yes. The complete plan is available to read on this page.
THE FREE BUILD GUIDE

Parsons Console Bookshelf

An open console with a top and two storage shelves.

BEFORE THE FIRST CUT

Materials

This guide uses pocket holes for the shelf trim and countersunk through-screws for the frames and final joining.

QuantityMaterialSize or specification
1 boardNominal 1×12 lumber12 ft / 144 in long 3657.6 mm
6 boardsNominal 2×2 lumber8 ft / 96 in long 2438.4 mm
As neededPocket-hole screws1 1/4 in / 31.8 mm Shelf-to-trim joints
As neededCountersunk-head wood screws3 in / 76.2 mm End frames and final joining
As neededWood glueSuitable for the chosen timber

Choose sound stock and suitable fasteners

Choose straight, dry boards without splits or loose knots at joints. Screw gauge and counts are not specified. Choose screws and pilots for the timber and jig; do not use drywall screws.

Finishing supplies

Have abrasives, optional compatible filler, and interior paint or stain with clear topcoat ready. No furring strips or brad nails are used.

WORKSHOP SETUP

Tools and safe preparation

Read all three assembly stages before cutting. Work on a flat, stable surface and keep a helper available for the final assembly.

Measure and cut

Gather a tape measure, pencil, square and circular saw with a suitable guide. A miter saw may be used for square crosscuts within its capacity. Support both sides of each cut and clamp the work securely.

Drill and assemble

Have a drill/driver, suitable pilot and clearance bits, countersink bit, pocket-hole jig with its matched stepped bit, stop collar and driver, plus clamps and a level. Use a sander or sanding block for preparation.

Protect yourself

Wear eye and hearing protection. Use dust extraction and appropriate dust protection. Keep hands clear of the blade and clamp small parts before drilling. Disconnect power before blade or bit changes. Follow all tool instructions.

Set the pocket jig for the shelf

The shelf is typically 3/4 in (19.1 mm) thick. Set the jig and stop collar for that material thickness, as the jig maker directs. This is not a straight-hole drilling depth. Make a test joint on offcuts before drilling finished parts.

Use the written measurements

The sketches are assembly illustrations, not full-size templates. Verify actual stock dimensions and use one unit system consistently. Metric equivalents are rounded to 0.1 mm; mark each joint from one reference edge.

NINETEEN SQUARE-CUT PARTS

Cut list

Label the parts as you cut. The D rails must match the actual width of A; do not cut them from a nominal board name.

PartQtyStockLength inLength mmUse
A31×12451143.0Shelf boards
B62×2451143.0Long shelf trim
C42×232812.8Legs
D62×211 1/4285.8End crossrails

Nominal is not actual

Typical surfaced 1×12 is 3/4 × 11 1/4 in (19.1 × 285.8 mm). A 2×2 is 1 1/2 × 1 1/2 in (38.1 × 38.1 mm). Measure your boards before marking parts.

Fit D to A

All three A boards must have matching widths. Cut D to that width. With 11 1/4 in (285.8 mm) shelves, overall depth is 14 1/4 in (362.0 mm).

Cut on the waste side

Square a sound reference end. Allow for blade kerf and check the first part before cutting its matches. Keep ends square and compare matching pieces before assembly.

PLAN THE BOARDS

Stock allocation

The six-board 2×2 allowance below fits every part with space for saw kerf and end trimming. Check for defects before committing to the layout.

StockCut allocationTotal before kerf
1×12 boardA + A + A 45 + 45 + 45 in135 in 3429.0 mm
2×2 boards 1-3Each: B + B 45 + 45 in90 in each 2286.0 mm
2×2 boards 4-5Each: C + C + D + D 32 + 32 + 11 1/4 + 11 1/4 in86 1/2 in each 2197.1 mm
2×2 board 6D + D 11 1/4 + 11 1/4 in22 1/2 in 571.5 mm

Keep useful offcuts

The remainder of board 6 is spare stock. Use sound offcuts to test the pocket joint, pilot holes and countersink depth.

Do not chain measurements through cuts

Measure each part separately; every cut removes material. Allow for that loss as well as end trimming. Reject damaged joint areas.

Prepare before joining

Sand faces that will be hard to reach later. Keep joints flat and unfinished. Mark shelf tops and all four leg bottoms as your references.

CHECK BEFORE FASTENING

Set the frame geometry

All three shelf surfaces finish flush with the tops of their trim and end crossrails. Mark heights upward from the bottoms of the legs.

ReferenceInchesMillimeters
Overall length481219.2
Overall depth with 11 1/4 in A14 1/4362.0
Overall height32812.8
Top edges of bottom rails1 1/238.1
Top edges of middle rails16 3/4425.5
Top edges of upper rails32812.8
Clear opening between trim rails13 3/4349.3

Mark the rail bands

From the leg bottoms, mark the lower and upper edge of each D rail: 0 to 1 1/2 in (0.0 to 38.1 mm); 15 1/4 to 16 3/4 in (387.4 to 425.5 mm); and 30 1/2 to 32 in (774.7 to 812.8 mm).

Check the arithmetic

Length: 45 + 1 1/2 + 1 1/2 = 48 in. Depth: 11 1/4 + 1 1/2 + 1 1/2 = 14 1/4 in. The two clear openings between the 1 1/2 in trim rails are equal; shelf boards are thinner than those rails.

STEP 01 / ASSEMBLY

Make three shelf assemblies

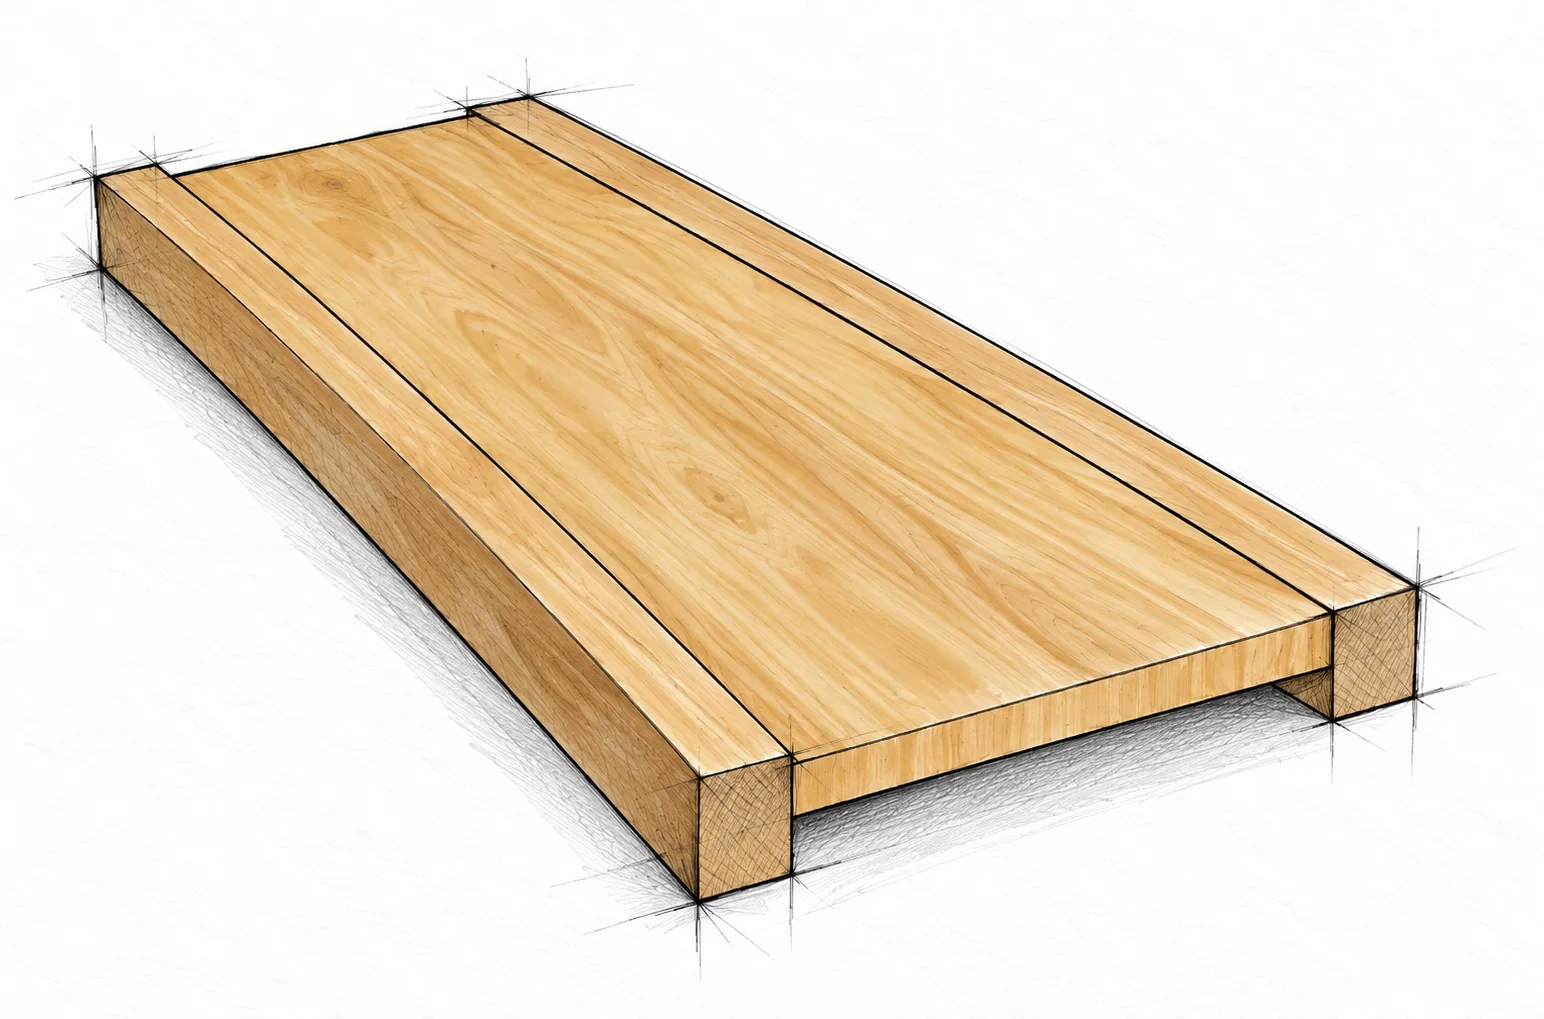
A × 3 / B × 6 / 1 1/4 in (31.8 mm) pocket screws

Make three shelf assemblies · Parsons Console Bookshelf

Drill along the two long edges

Mark the underside of each A. With the jig set for 3/4 in (19.1 mm) material, drill pocket holes along both 45 in (1143.0 mm) edges, about every 8 to 10 in (203.2 to 254.0 mm). Keep holes clear of ends and defects.

Clamp the tops flush

Place one B against each long edge of A. Align the ends of all three parts and keep both trim tops flush with the shelf top. Each trim projects 3/4 in (19.1 mm) below the shelf underside. Clamp against a flat surface so no lip forms.

Drive the pocket screws

Drive a 1 1/4 in (31.8 mm) pocket screw into each pocket without overdriving. Check the first assembly for flatness and flush edges, then repeat twice. Leave both short shelf ends free for the end frames.

STEP 02 / ASSEMBLY

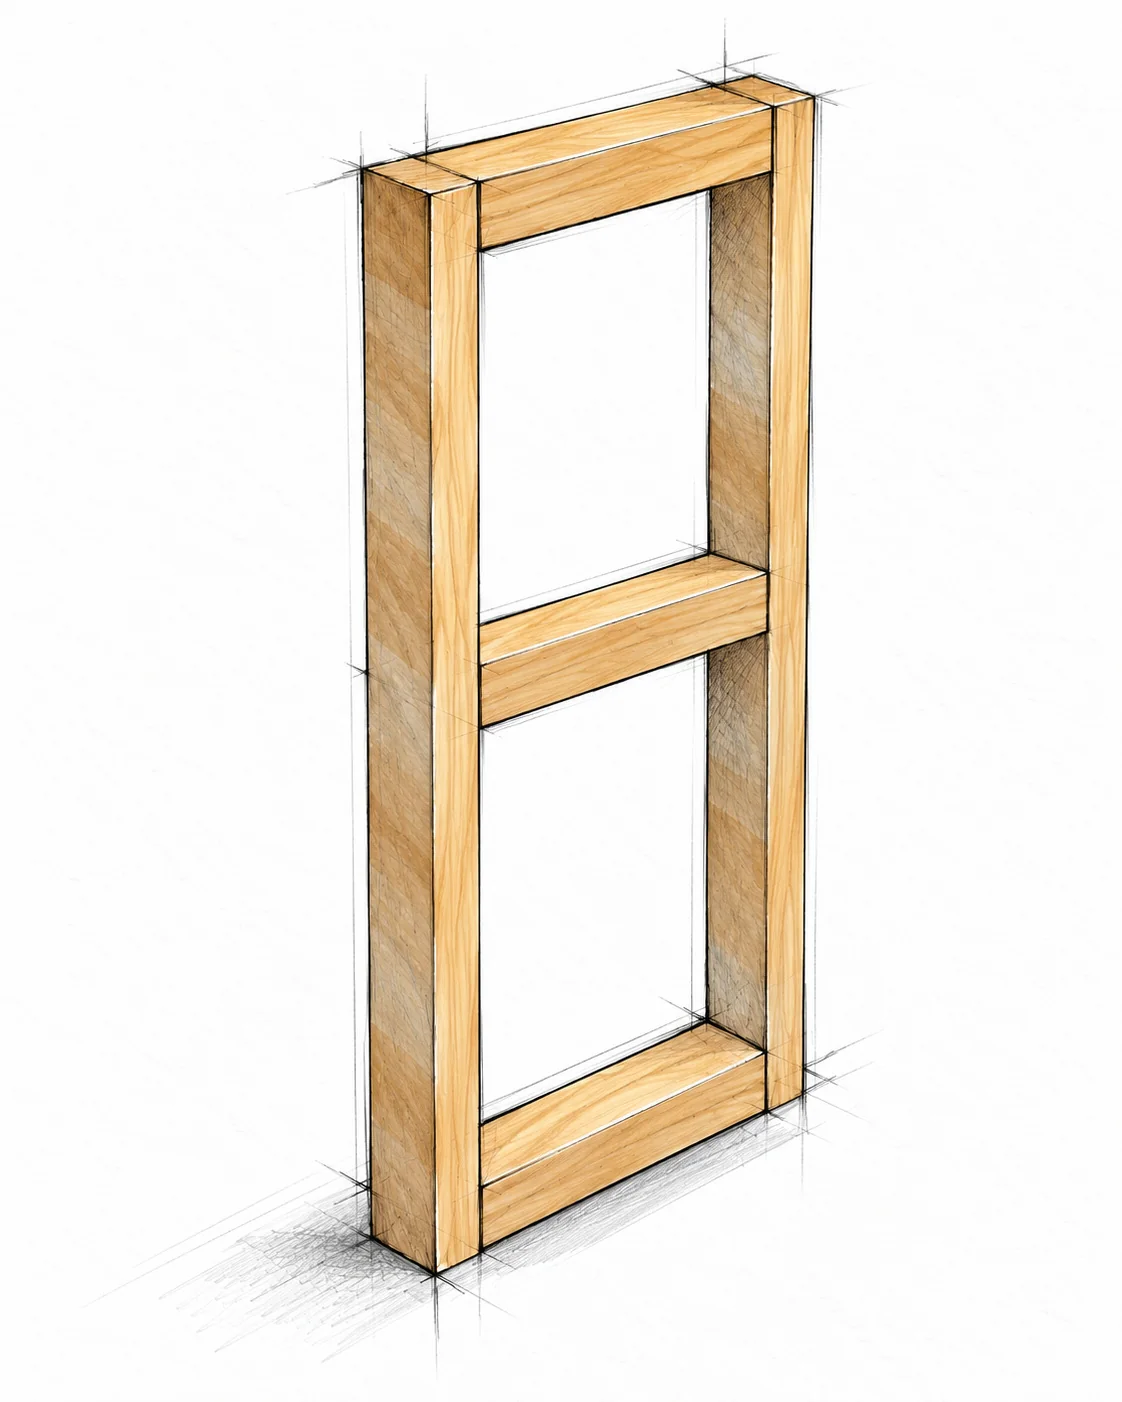
Build two end frames

C × 4 / D × 6 / 3 in (76.2 mm) screws and glue

Build two end frames · Parsons Console Bookshelf

Lay out one end

Place two C legs parallel on a flat surface. Fit three D rails between them at the bands marked on page 6. The upper rail is flush with the leg tops; the lower rail is flush with the leg bottoms.

Check and fasten

Dry-clamp the frame. Check the corners with a square and compare its diagonals. Predrill from the outside of each leg into the end of each D. Countersink only enough to seat the screw head.

Glue the joints

Apply wood glue to mating faces and reclamp. Drive 3 in (76.2 mm) screws through the legs into the rails. Keep the frame flat and avoid splitting or overdriving. Make the second frame to match.

PLAN THE SCREW PATHS

Final-assembly screws enter the same legs from a perpendicular direction. Keep the two screw paths offset so they cannot collide.

STEP 03 / ASSEMBLY

Join the shelves and ends

Three shelf assemblies / Two end frames / 3 in (76.2 mm) screws

Join the shelves and ends · Parsons Console Bookshelf

Dry-fit the complete console

With help, hold the shelf assemblies between the two end frames. The long trim B meets the legs; each shelf end meets D. Align shelf tops with the matching crossrail tops, and align the outside trim and leg faces.

Predrill and fasten

Clamp securely. Predrill and countersink through the outside end faces of the legs into the ends of the long B rails, avoiding the earlier screws. Apply glue at the mating joints, reclamp and drive 3 in (76.2 mm) screws.

Check the complete frame

Check corners and front and back diagonals. On a flat surface, all four legs must touch and all shelves must be level. Correct twist before the glue sets; let it cure as directed.

FINISH AND INSPECT

Ready for the room

The warm timber in the sketches is one finish option. Complete all sanding and coating before putting the console into service.

Prepare the surface

Inspect for splits, loose joints and protruding screw tips. Sand with the grain and ease sharp edges. Remove glue residue, which can affect stain, and clean away sanding dust.

Paint or stain

For paint, fill visible holes if desired, sand smooth, then apply compatible primer and paint. For stain, test an offcut; use compatible color-matched filler if desired and protect with a clear topcoat.

Follow the finish instructions

Follow product directions for preparation, ventilation, coats, drying and curing. Handle and dispose of oily cloths as directed; do not pile them up. Let glue and finish cure fully before use.

Place and load cautiously

Use indoors on a firm, level floor. No tested load rating is provided. Keep heavier items low and spread weight evenly; do not overload. This is not a seat, step or climbing frame. Prevent climbing and pulling.

Prevent tipping and maintain

Secure against tipping with a restraint suited to the console and wall, installed to its instructions. No restraint hardware is specified. Check joints and stability regularly; stop use if it rocks, splits or loosens.

MAKE IT YOURS

Measure your own stock and dry-fit before fastening. If you make this project, I would love to see what you built.

Share your build